How To Make A DIY Book Page Wreath (And How To Buy)
As the year winds down, festive wreaths can be found adorning the doors in our neighborhoods. But who said wreaths were only made for November and December? Wreaths are for year-round decoration and can be made from whatever suits your fancy. And since we are book people, it only makes sense that we have a book page wreath on our doors. Follow along as we walk you through a DIY book page wreath step-by-step guide (or scroll to the end to see where you can buy one).
How to Make A Book Page Wreath
There are quite a few ways you could go about making your own book page wreath, but here is a good beginner’s guideline, using supplies you probably have around your house.
What You Will Need
- Cardboard or foam core board
- An old or unwanted book
- Pencil or marker
- Ruler or circle compass
- Regular glue
- Hot glue gun or glue sticks
- Sharp craft knife or boxcutter or scissors
- Ribbon or pipe cleaners (optional)
- Spray paint (optional)
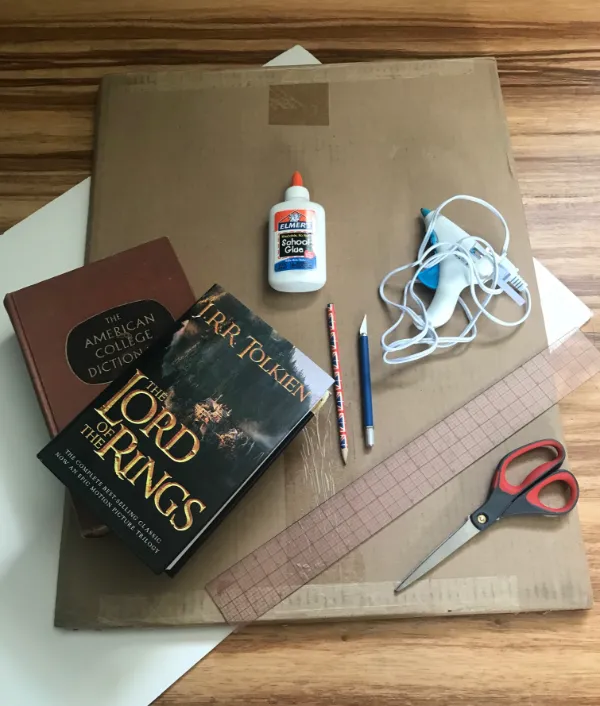
Step 1: Trace Your Wreath Base
The beauty of making your own book page wreath is you are not beholden to make it any particular size. Want a giant one? You can do that! Need a tiny wreath for wall decoration? Easy peasy. If you have a wreath the size you want, measure the base of that to figure out your dimensions.
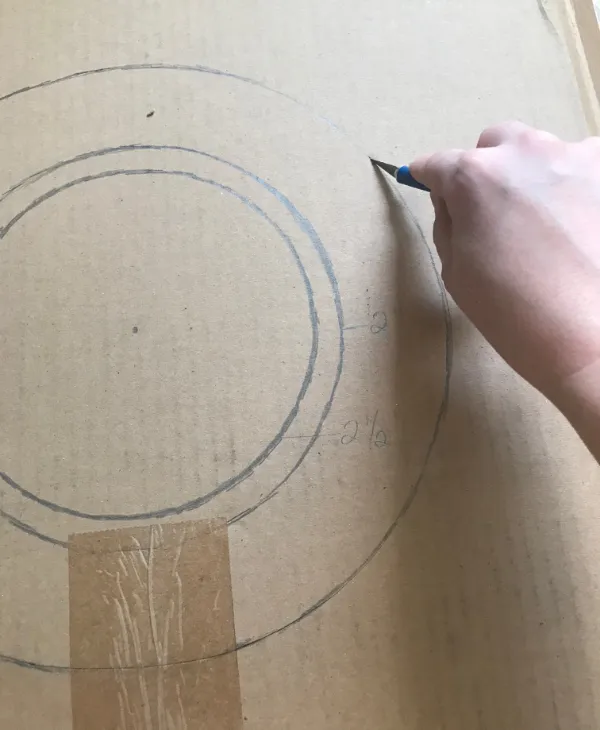
For this particular wreath, I made my base 12″ in diameter. Depending on the size you choose, you can use a plate or bowl to trace a circle the same size or use a circle compass if you happen to have one of those lying around. I didn’t have either, so I grabbed a ruler and drew my own circle, which I will walk you through in case you need to do the same.
First, make a mark in the center of your cardboard (you can even use a clean pizza box!). Place your ruler on your center mark, measure half of your desired diameter, and mark the edge. Pivot your ruler, make another mark, and repeat the process until you’ve got a dashed circle. I used a quilting ruler, so it’s a bit easier to see through and make my dash marks.
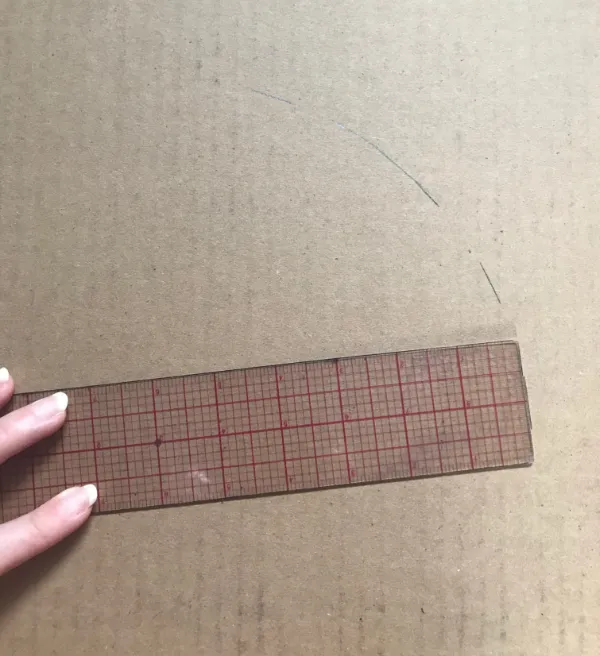
Once you’ve got your dashed circle, use your pencil to connect the dashes and smooth out your circle.
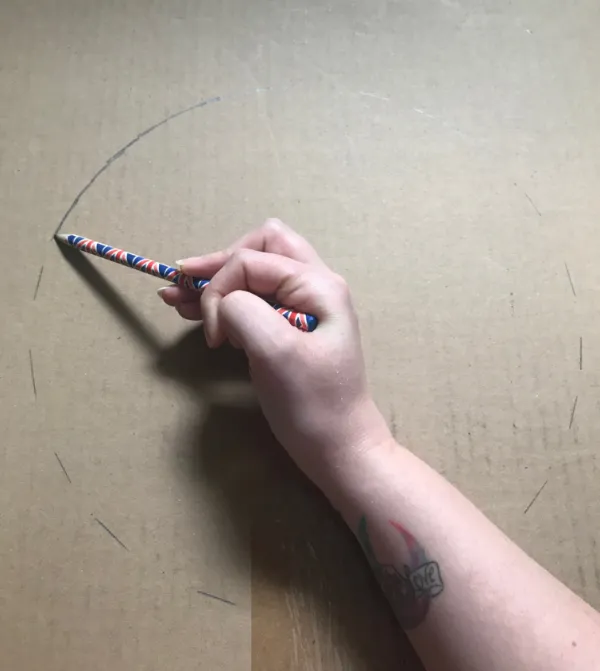
Repeat this process to draw your inner circle. At first, I thought a 2″ base would be fine, but decided 2 1/2″ would be better. If you want a book page wreath with more than three layers, you’ll want a 2 1/2–3 1/2″ base.
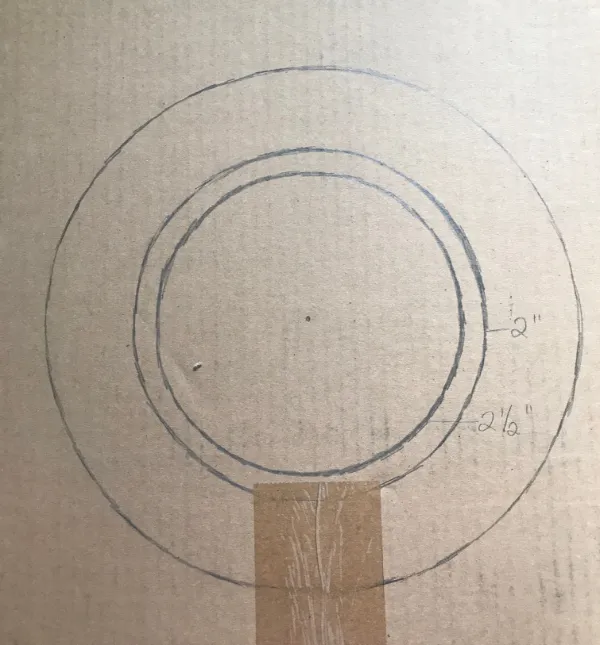
Step 2: Cut Out the Wreath Base
Using a sharp craft knife, cut out your circles! You can use scissors in a pinch, but my X-Acto knife made quick work of the curves on the cardboard.
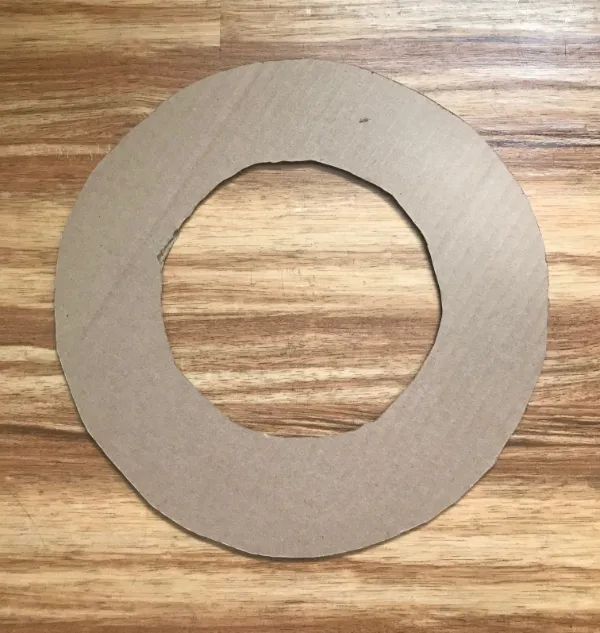
Voila! You’ve got your wreath base. Don’t worry if it isn’t perfectly cut out or exactly symmetrical, this will all be hidden.
Step 3: Glue Your Pages Into Cones
How you choose to remove your pages from your book is up to you. I’m fond of ripping a signature entirely out and tearing the pages with a ruler. You can also use a craft knife and cut into the spine and remove pages that way. However you do it, you’ll want a large pile of pages ready to go.
Please note, I did not trim my book pages at all. If you want less blank space and more words on display, use scissors or a paper trimmer and trim off the page margins! I also didn’t mind if some edges were roughly torn, but if you prefer a clean look, be sure to trim the edges of any pages torn out.
Once you’ve got your pages cut out, it’s time to roll and glue them into cones. This is the most time consuming part, so settle in with an audiobook and get ready to glue glue glue!
To make the page cones, I found it easiest to hold opposite page corners and twist/roll towards each other…
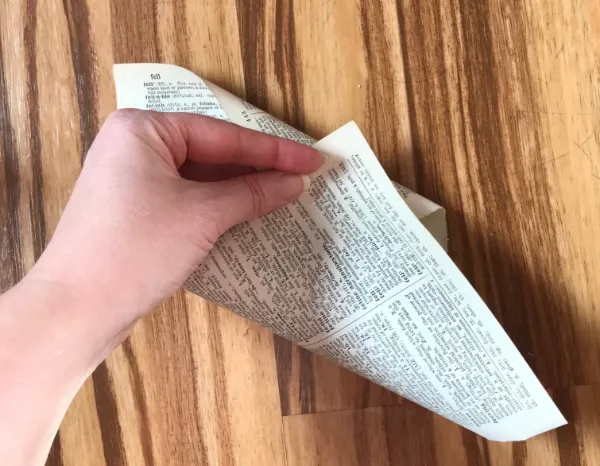
…until you get a paper cone with a nice outer point!
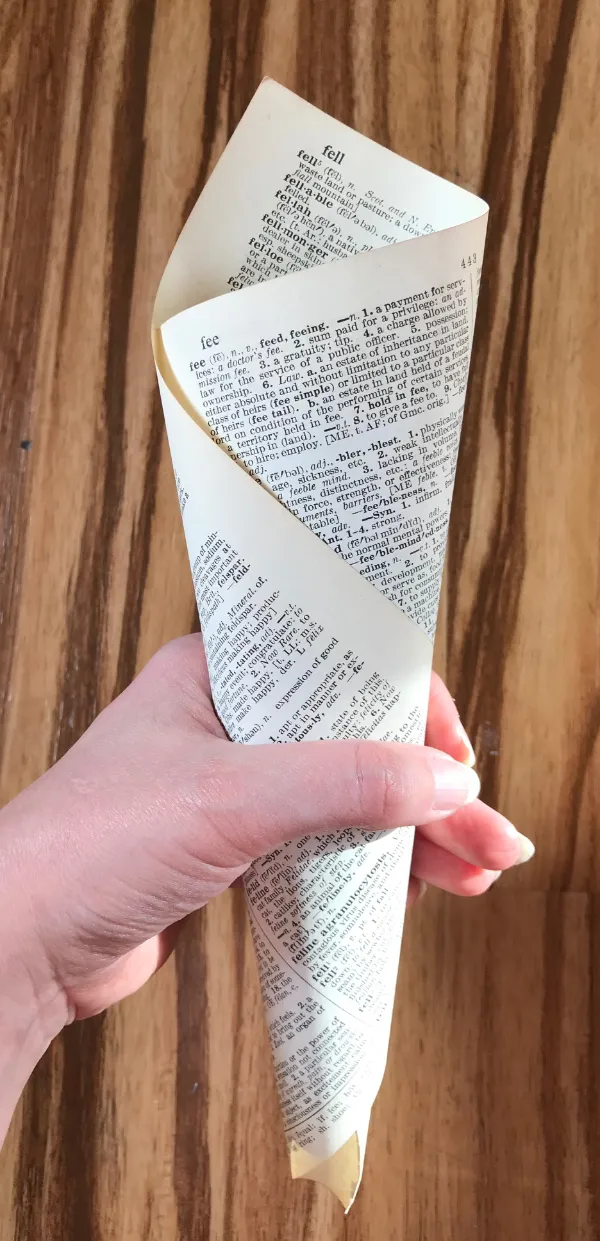
Holding your rolled cone in one hand, flip back a bit of the outer rolled page, place a small amount of glue (I used regular school glue, but you can use a hot glue gun if you super love hot glue guns) along the edge, roll back into place and press it closed.
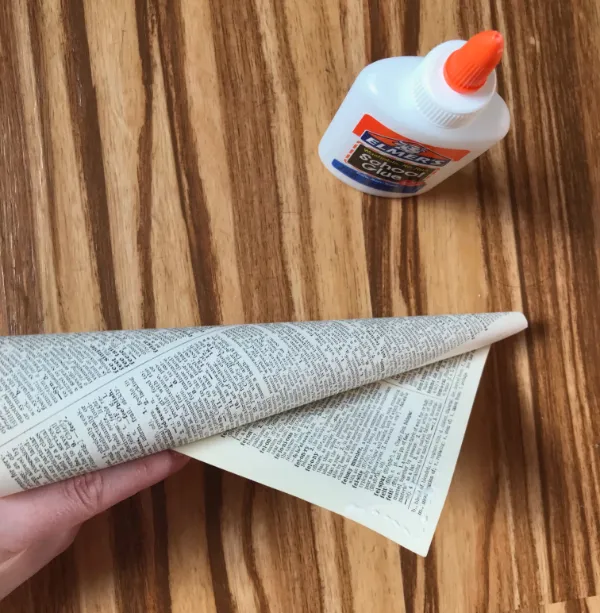
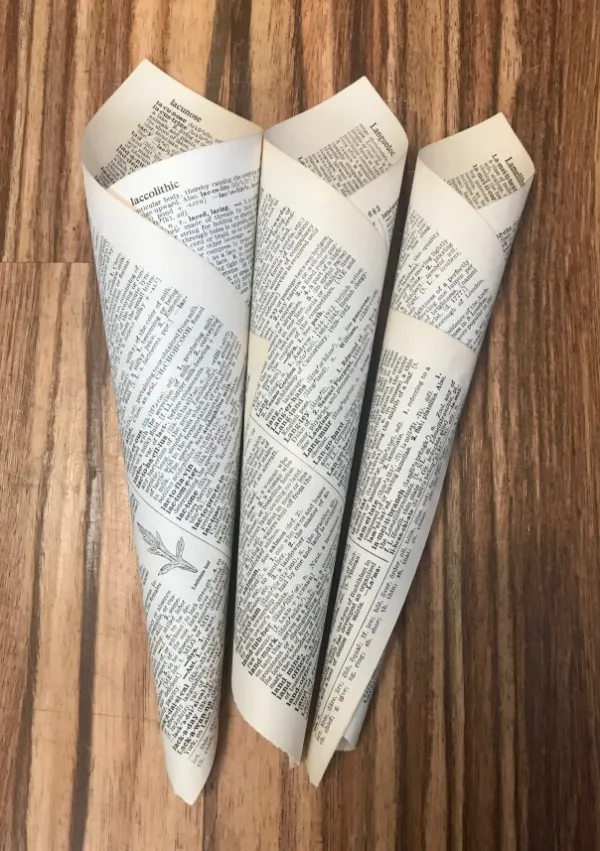
It may take you a few tries to get into a rhythm, but once you’ve figured out how to roll and glue, the cone making goes pretty quickly! You’ll want to make several different sizes of page cones: some rolled loose so you have a wider opening, and then others rolled tighter with smaller openings. For my wreath, I used 19 large, 19 medium, and 18 small cones, but the number you need will vary on the size of your wreath and the book pages being used.
Step 4: Glue Your Outer Layer
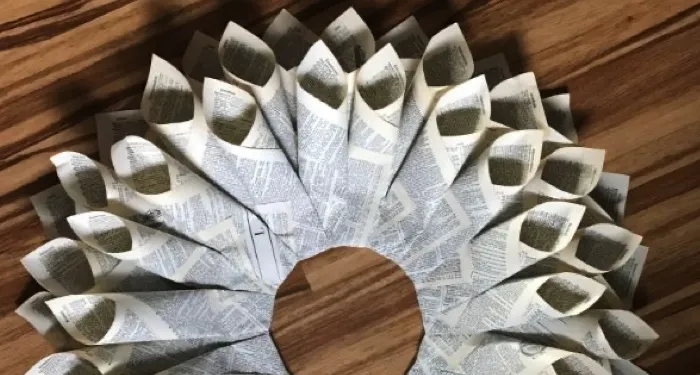
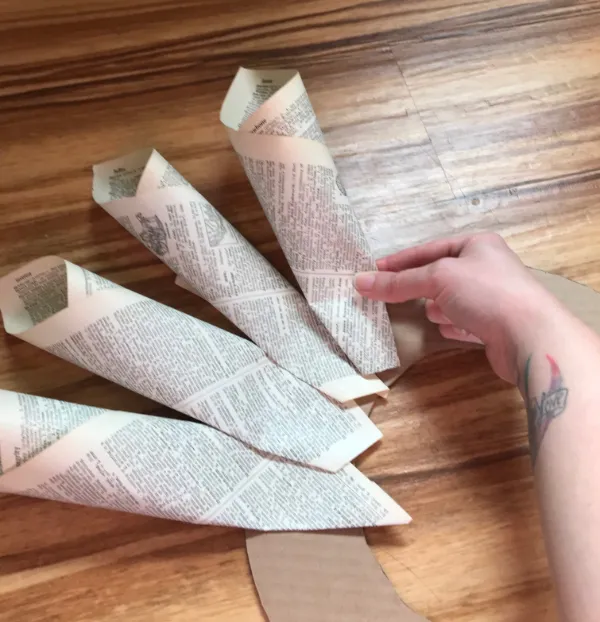
Start with your larger paper cones/petals, and use a hot glue gun to glue down the outer layer. You can play with how far out you want the pages to extend, just make sure you are leaving space between the cones so your next layer has a place to go.
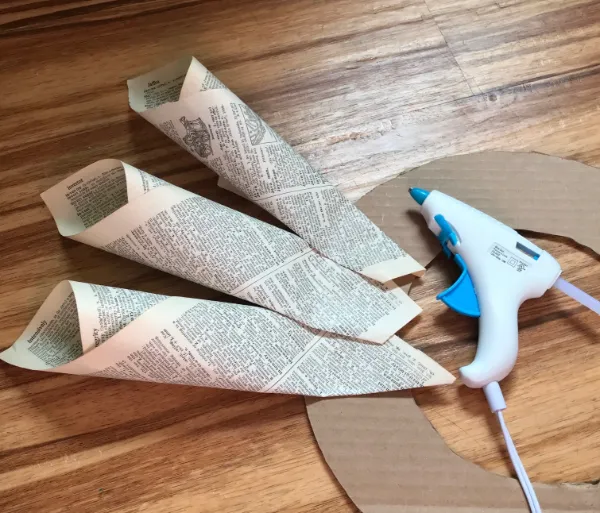
Like so! Repeat this until you circle back to your first cone.
Step 5: Glue Down the Other Layer(s)
Using your medium sized cones, glue down the next layer of your book page wreath. Make sure the cones are nestled on top of and in between the outer layer, and remember to keep them spaced out as you did with the first layer.
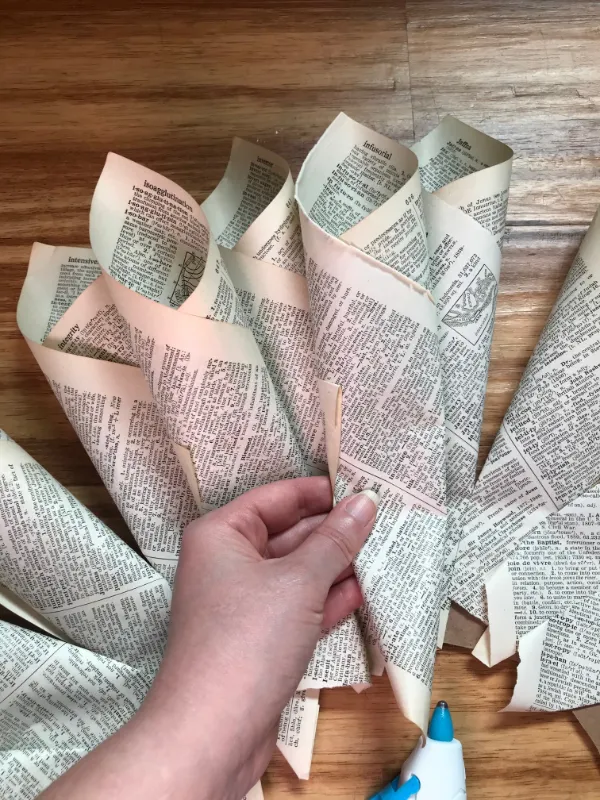
Tip: You don’t need a lot of hot glue! A small dot or a simple line is all you need to secure your book page cones.
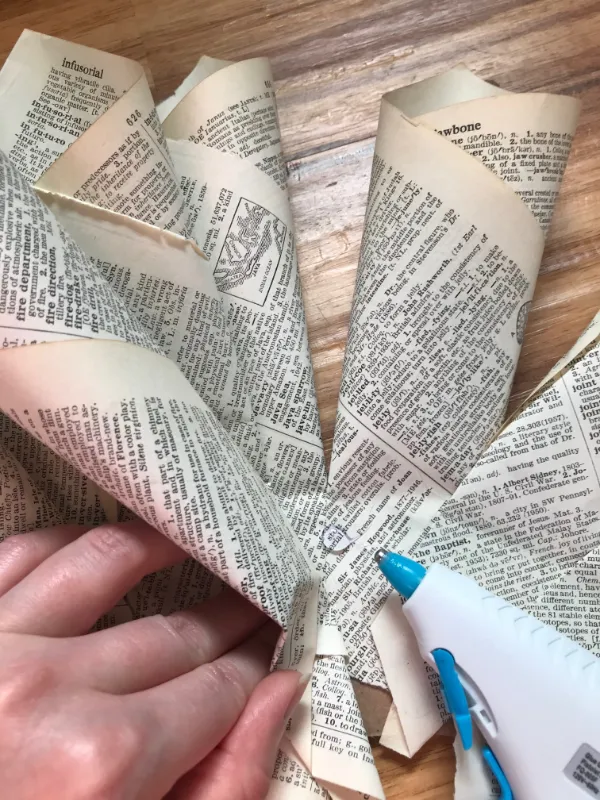
Repeat the layering process, using smaller and smaller sized cones, until you reach your desired look and only have the final inner layer remaining.
Step 5b: Trim the Paper Edges
This isn’t a necessary step, but before I glued down my last layer, I trimmed the paper from the inside edge of my wreath to keep the bulk down.
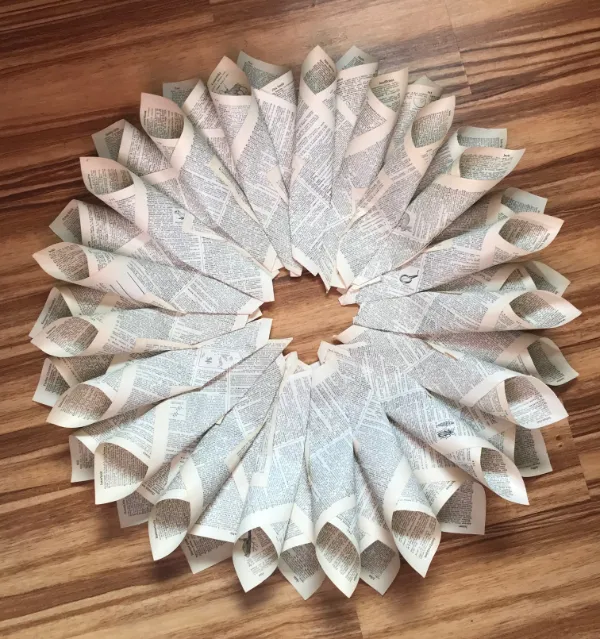
A super quick trim job with scissors to clean up those layers of paper cones.
Step 6: Glue Your Final Layer
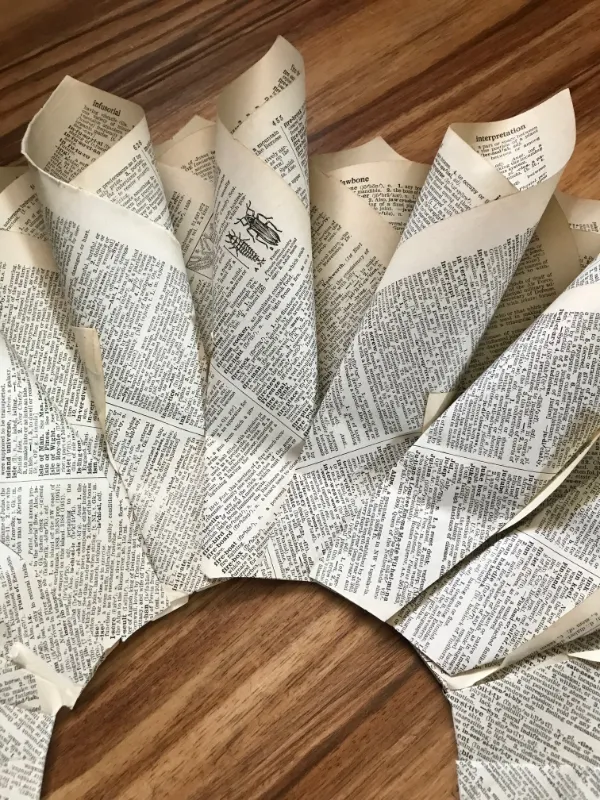
You are a hot glue machine and have made it to your final layer, yay! Grab the smallest of your book page cones, and begin to glue them down as before.
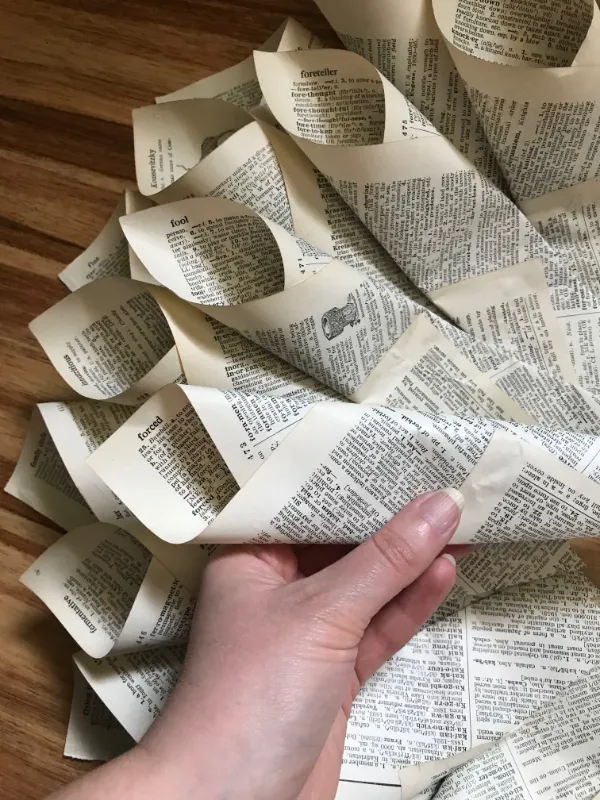
To finish off your wreath, flip it to the backside, fold the ends of the cones around the inner edge and glue them down on the back. You can choose to glue down your entire final layer before this last step, but I decided to do it as I went, flipping over after every 3-4 cones.
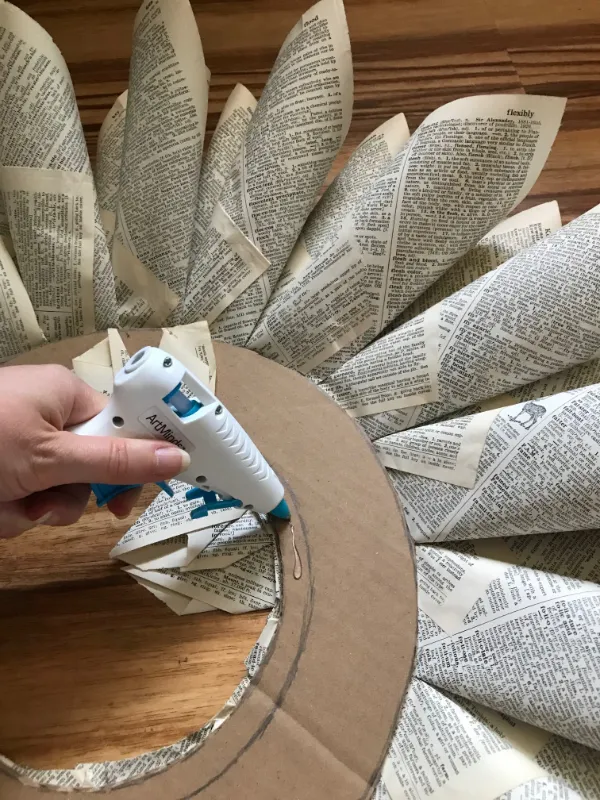
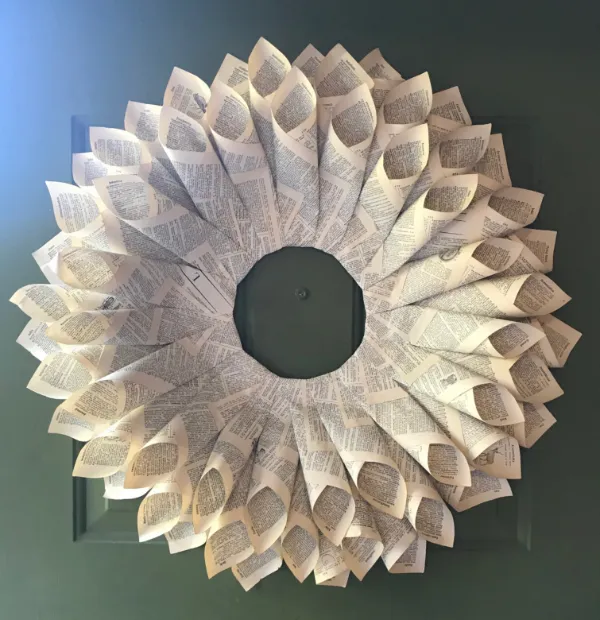
Step 7: Admire Your Finished Book Page Wreath
Ta da! You’ve made your very own book page wreath!
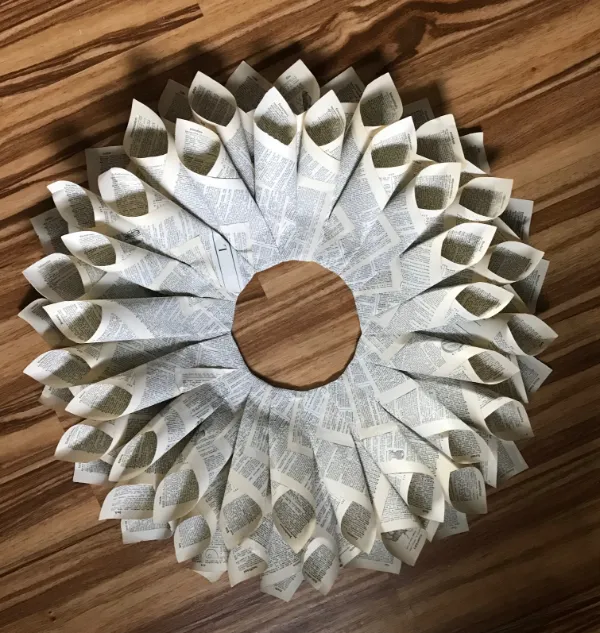
Step 8 (Optional): Create a Hanger
Using a pipe cleaner or ribbon (or similar thing you have around your house), create a small loop to use as a hanger and hot glue this to the back of your wreath.
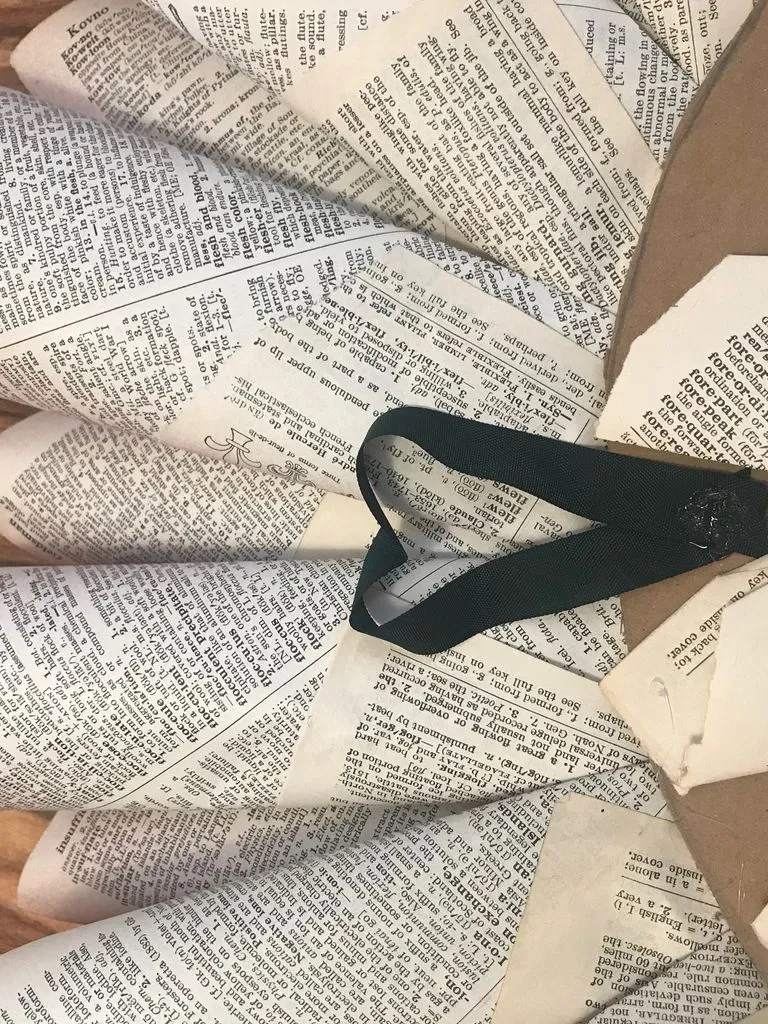
You’ll notice in the picture above, the back is unfinished. Now this works fine for me, no one is going to see it. But if you have a glass door or are making one to give as a gift, you could easily make it look a little more finished with the following options:
- Cut a piece of felt or fabric to fit your wreath and hot glue it down to the back.
- You could also cut an identical piece of cardboard, spray paint it, and glue to the back.
- Decoupage the bits of exposed cardboard with book pages!
Book Page Wreath Variant Options
If you like the look of the wreath you’ve made but think it needs a pop of color, spray paint it! You could play around with spray painting the various layers different colors, or spray the edges with a bit of metallic gold or silver paint for a fun variant.
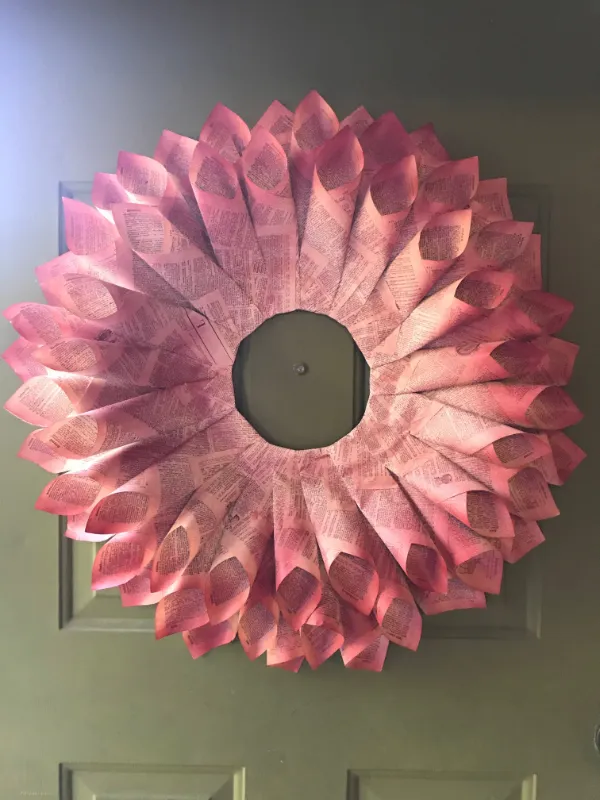
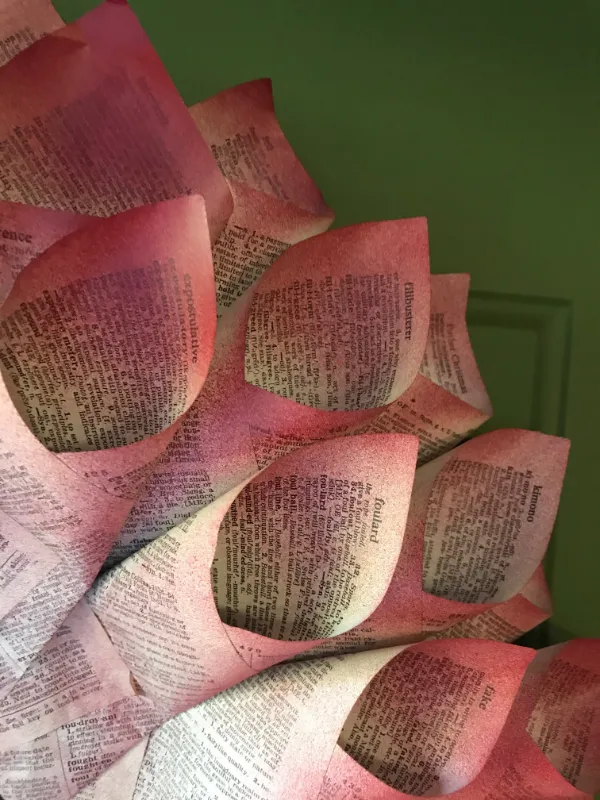
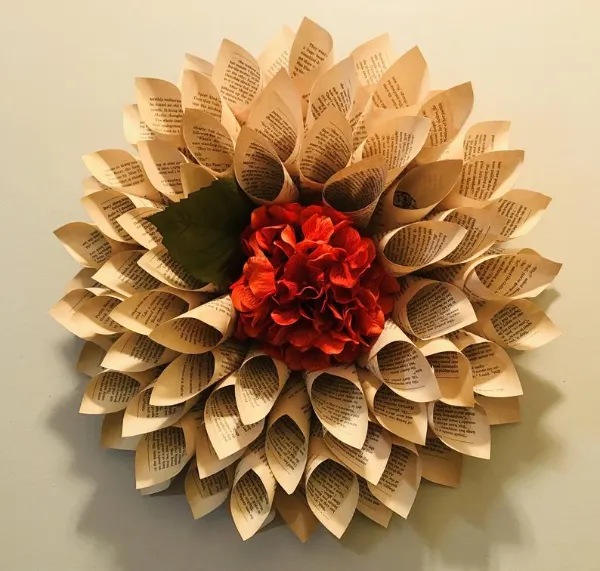
If you want a wreath with more of a full dahlia look, that is super easy to do. You’ll use the same techniques to make your paper cones and glue them down in layers, but your base will be a bit different.
Start with a square piece of cardboard or foam cord board. Trace a circle in the middle (this one is about 9″ in diameter), and another circle about 1″ smaller inside your first circle.
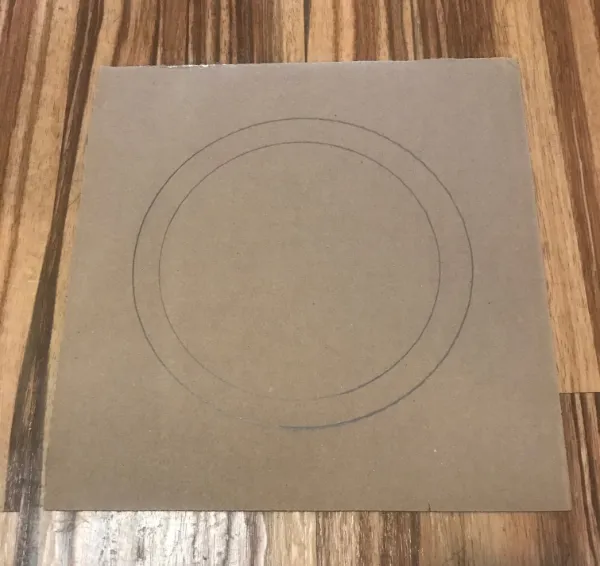
Glue down your book page cones as in step 4, lining up the end of the cones with the smaller inner circle. Glue down your additional layers as above in step 5, until you reach your desired fullness.
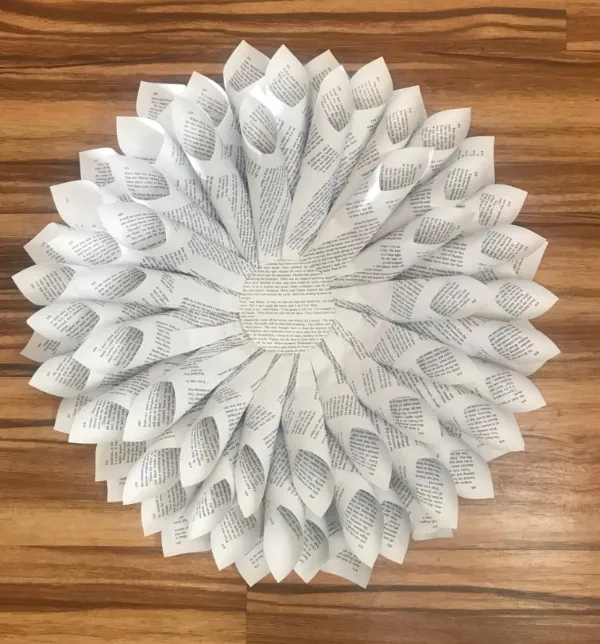
You can fill up the entire space with cones and create a full flower, or you can leave a bit of the center empty, and finish it off with a circle cut out of a book page as I did above. You could also fill the center with pinecones, dried or silk flowers, or ornaments (a great way to reuse broken ornaments)—all you need is some hot glue!
Where to Buy A Ready-Made Book Page Wreath
If you like the idea of a wreath made from vintage book pages but don’t feel like making your own, you can buy one Etsy! A few sellers even offer custom made options from specific books or you can send them a book of your choosing!
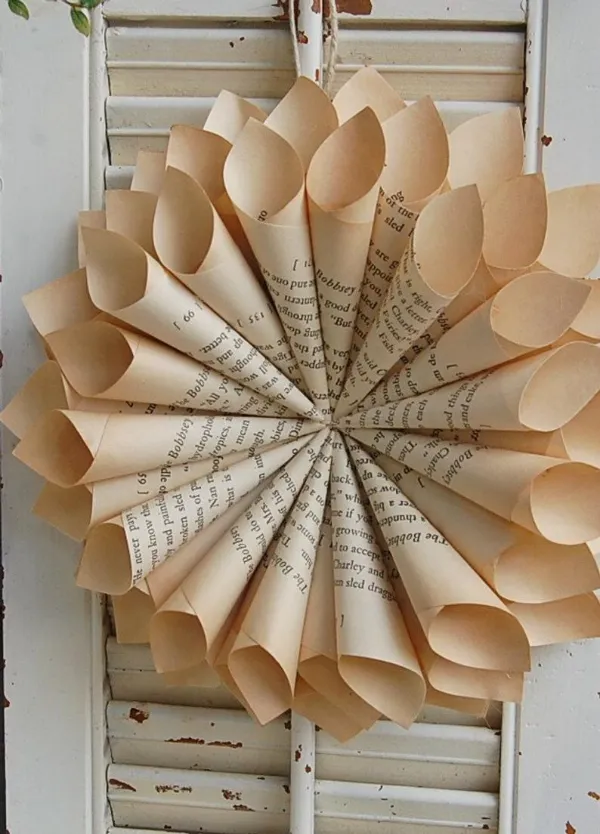
The shape of of this 10″ vintage book page wreath is especially cute. $21
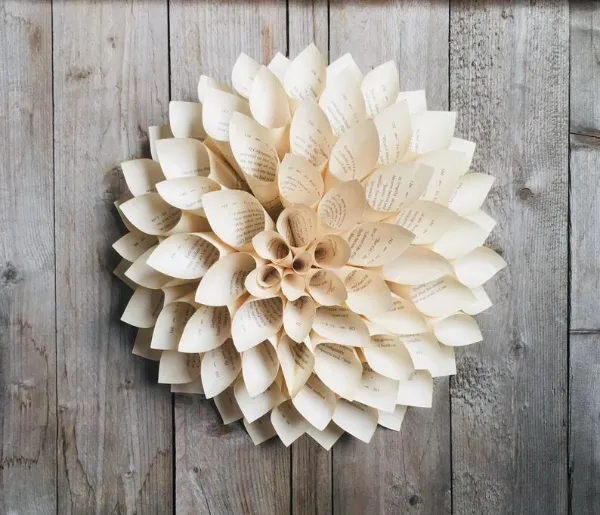
This is a beautiful example of a paper dahlia. $35
A lovely book page wreath with floral centerpiece. $38
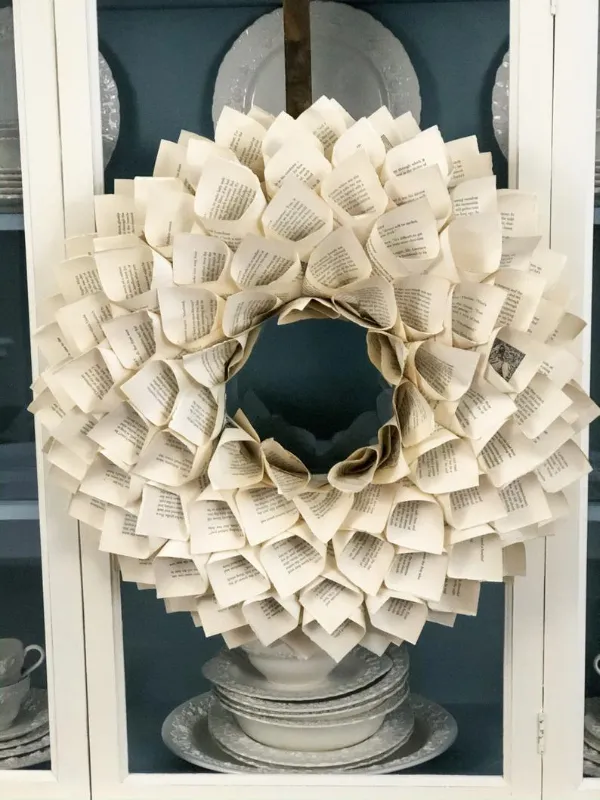
This gorgeous book page wreath is made from vintage Christmas books. $80
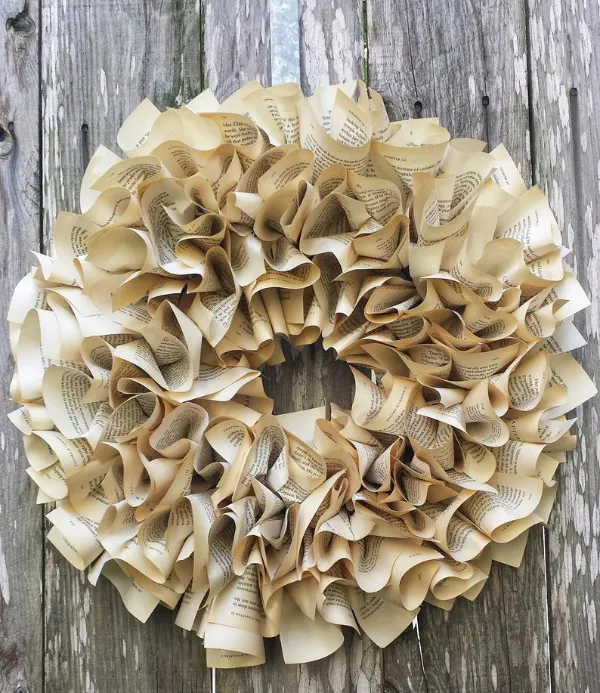
I love the shapes in this Jane Austen book wreath. $72.50
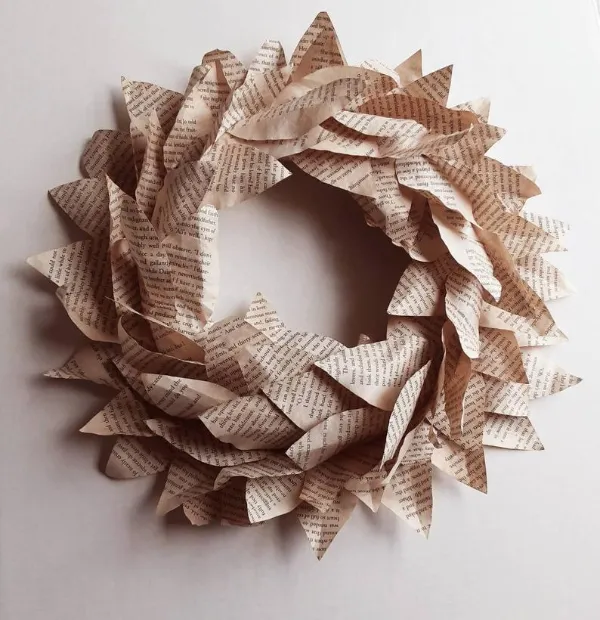
I’m very into this book page wreath with magnolia leaves. $49
Do you have other unwanted books in need of a craft project? Try one of these 30 DIY crafts with old books or learn how to hollow out a book!


