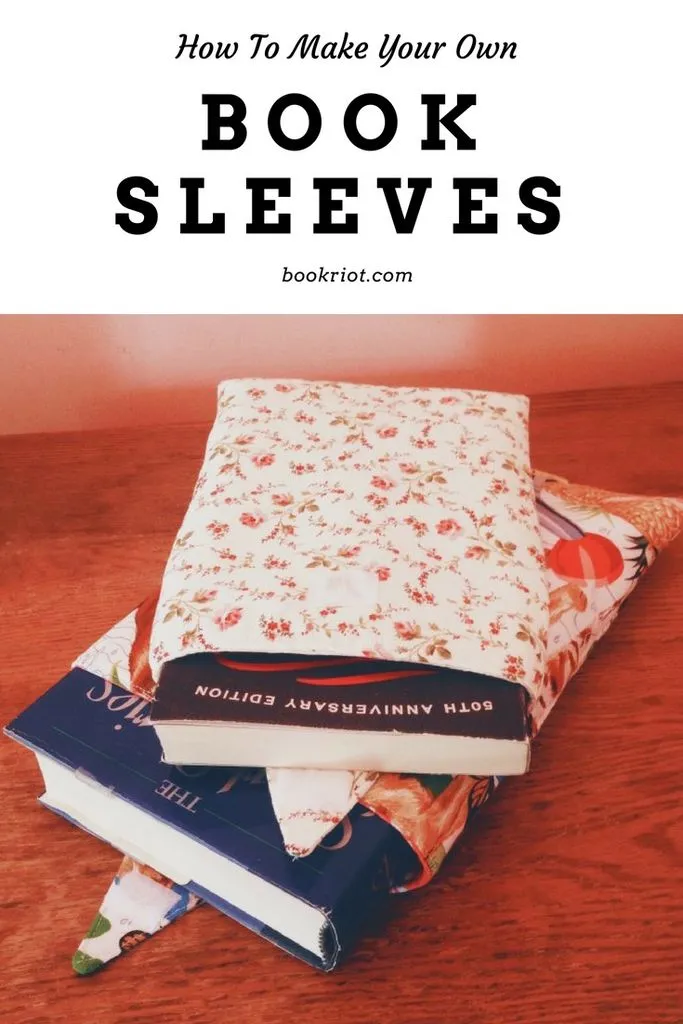
How to Make Your Own DIY Book Sleeves (With Photos!)
Book sleeves are a must for any readers who take their books off the shelves and out into the world. These padded fabric pouches prevent all the creasing, marking, and (god forbid!) ripping that tends to happen to books that get carried around in a purse. DIY book sleeves are simple to make, super cute, and make great gifts if you can manage not to keep them all for yourself.
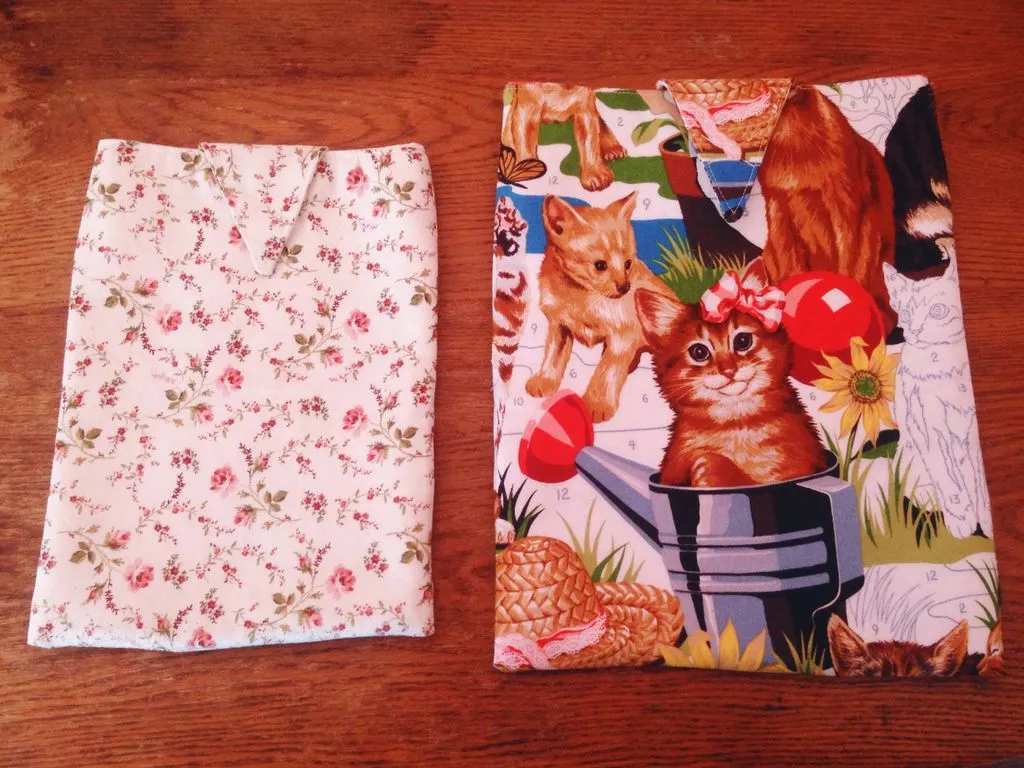
These fabric book sleeves are made with quilting cottons, padded with fusible fleece, and have pointed tabs with velcro closures. Use this DIY book sleeve sewing pattern to make custom book sleeves for yourself or a bookish friend!
Materials:
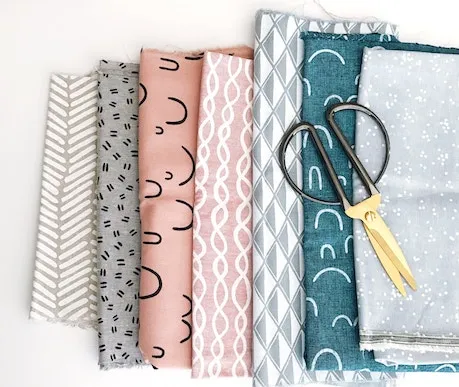
about ⅓ yard lining fabric
about ⅓ yard of fusible fleece
1 inch of ¾ inch wide sew-in velcro
thread to match main fabric
1. Cut fabric
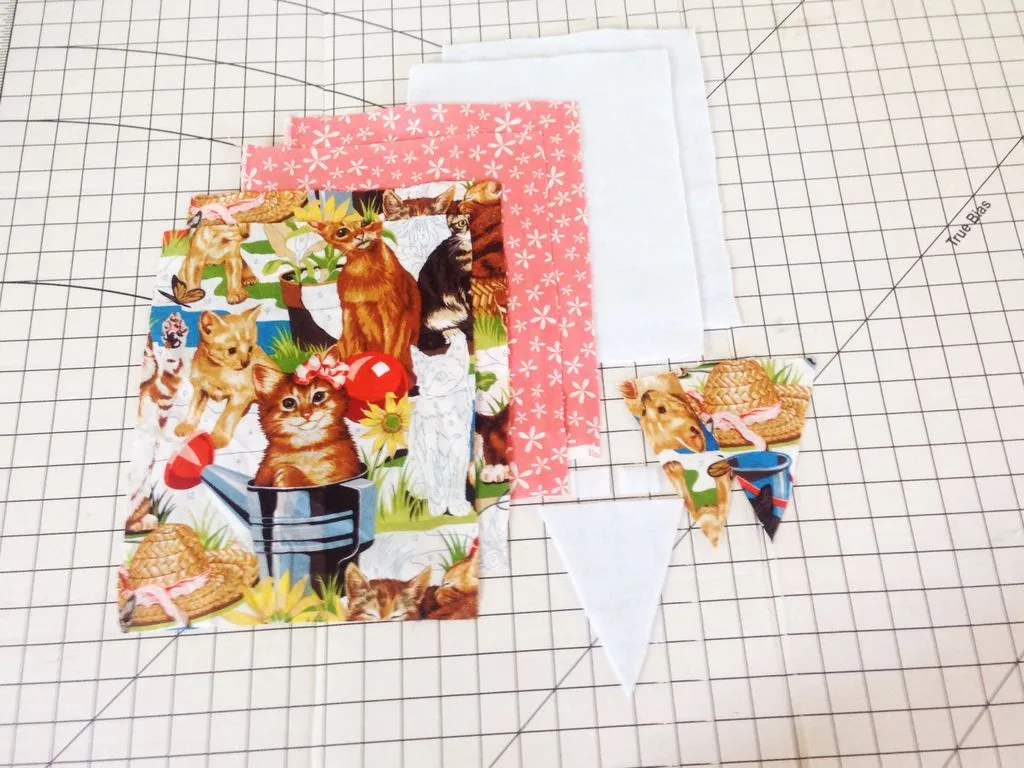
For the smaller sleeve (finished measurements 7” x 9 ½”):
cut 2 rectangles of lining fabric 8” x 10 ½”
cut 2 rectangles of fusible fleece 7” x 9 ½”
For the larger sleeve (finished measurements 8 ½” x 11”):
cut 2 rectangles of main fabric 9 ½” x 12”
cut 2 rectangles of lining fabric 9 ½” x 12”
cut 2 rectangles of fusible fleece 8 ½” x 11”
For the tab:
cut 2 identical triangles with a 4 inch base and a 5 inch height
cut 1 triangle of fusible fleece in the same shape
2. Fuse the fusible fleece
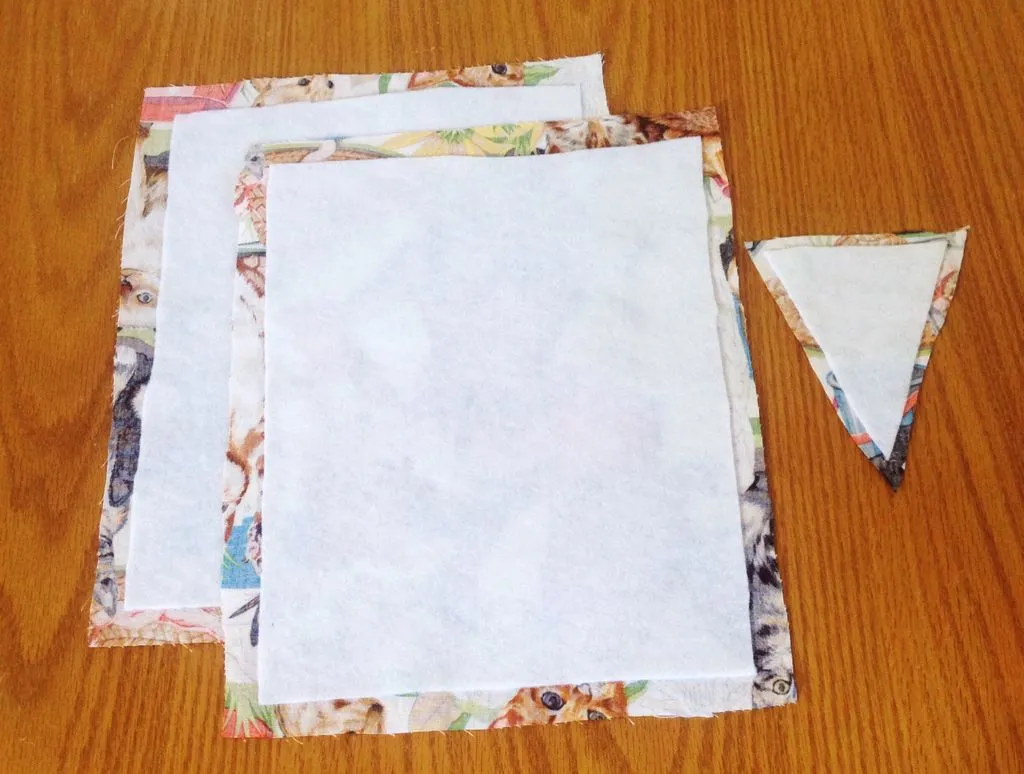
Place a rectangle of fusible fleece on an ironing board with the fusible (rough) side facing up. Center a rectangle of main fabric over the fusible fleece, right side up. The wrong side of the main fabric should face the fusible side of the fleece.
Cover the two fabrics with a damp press cloth and press for 10–15 seconds with a hot iron. Repeat with second rectangles of fusible fleece and main fabric.
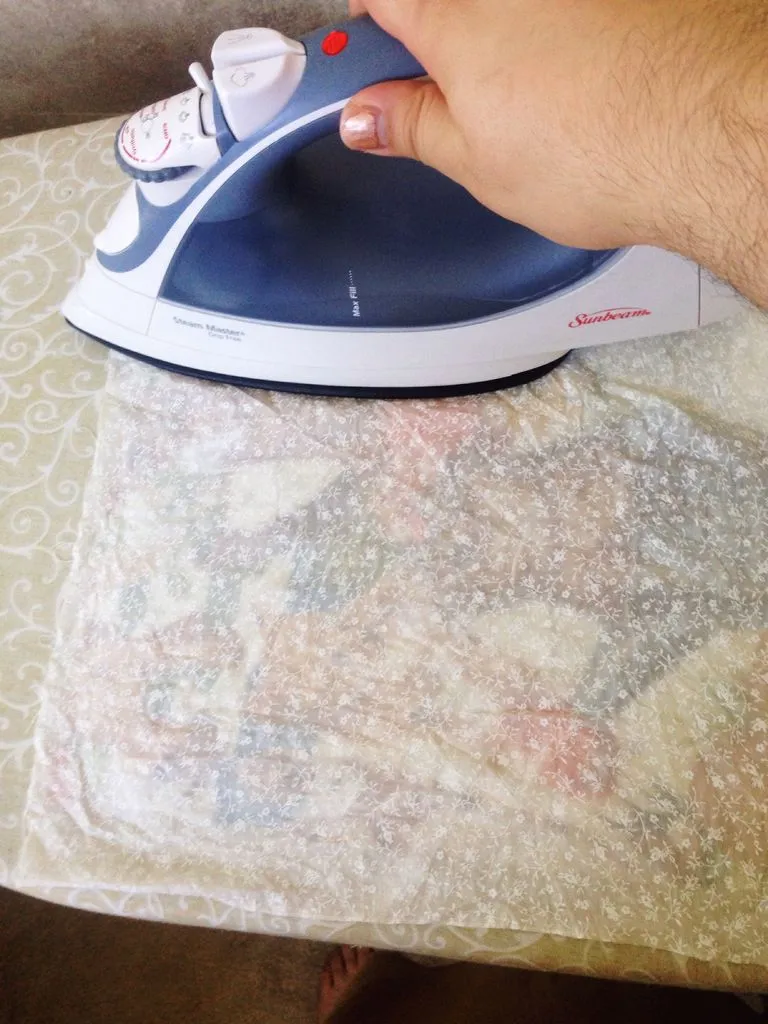
Trim the fusible fleece for the tab so that the fusible part does not go past the edge of the tab fabric when it is laid on top.
With the fleece on the ironing board and the fusible side up, lay the tab fabric on top with the right side facing you. Cover with a damp press cloth and press for 10–15 seconds with a hot iron.
3. Sew the DIY book sleeves
Use ½ inch seam allowance unless otherwise noted.
Sew a 1 inch piece of velcro (hook side) onto one main fabric/fleece rectangle, centered on shorter edge and 1½ inches below top.
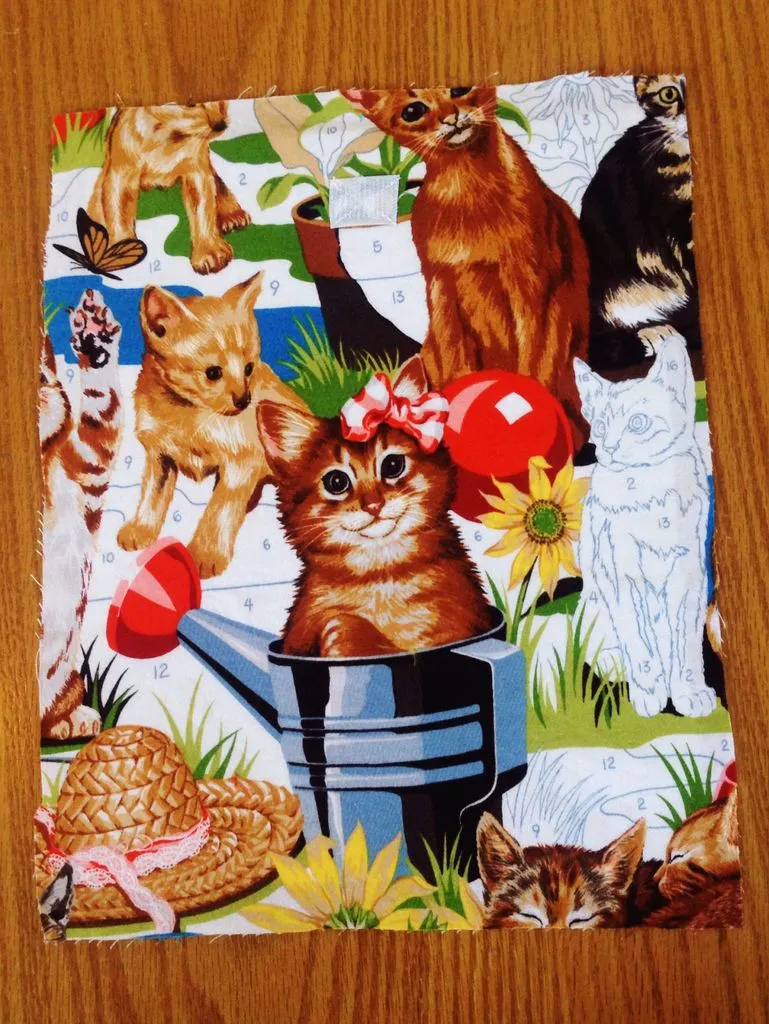
With right sides facing, sew main fabric/fleece rectangles together along the long sides. Do the same with rectangles of lining fabric.
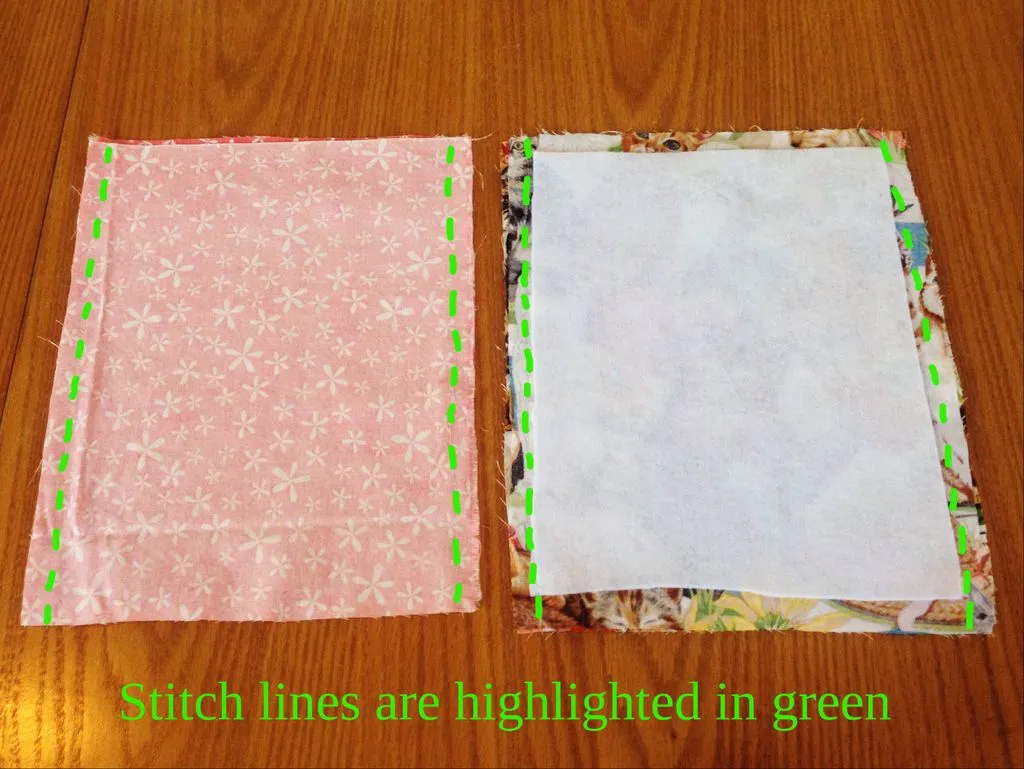
Trim seam allowance to a scant ¼ inch. Press seams open.
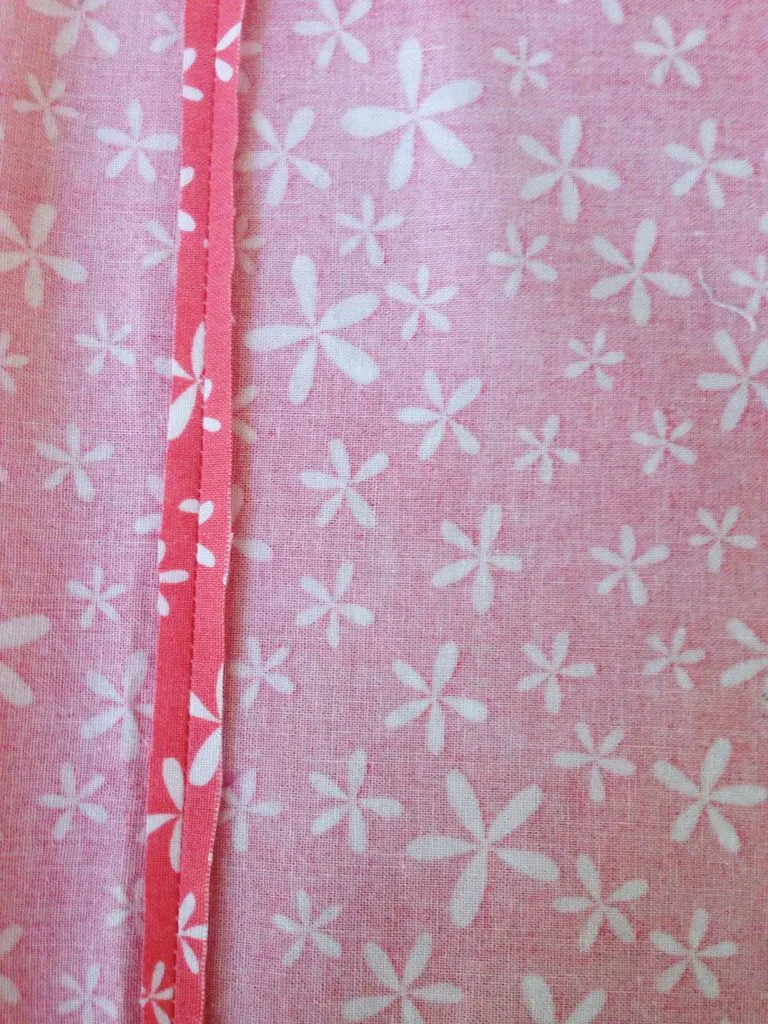
Sew the tab pieces together, right sides facing, along the two long sides of the triangle.
Trim seam allowance close very close to the stitches.
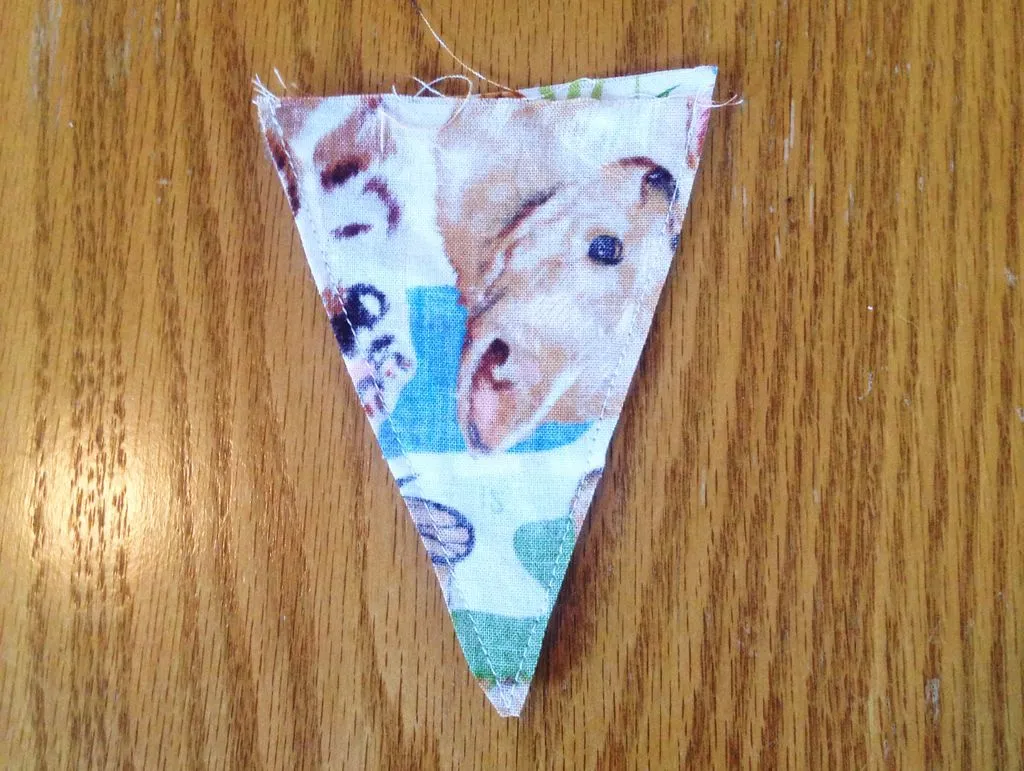
Turn tab out and press. Coverstitch ⅛ inch from edge.
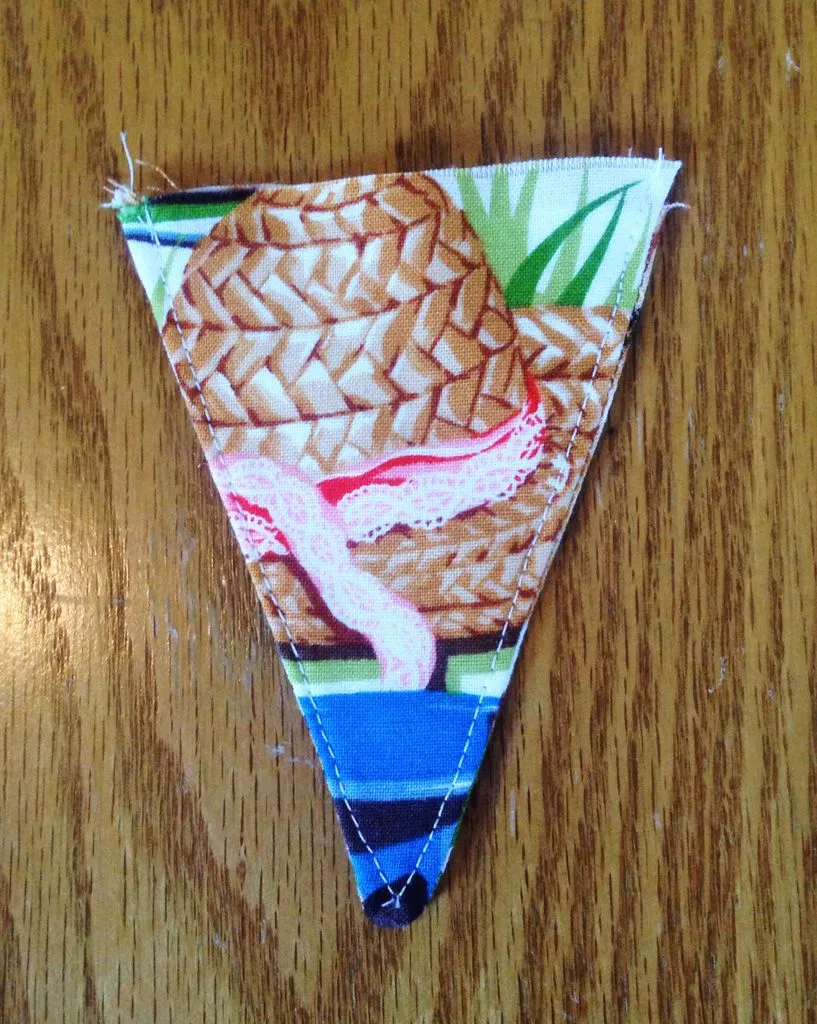
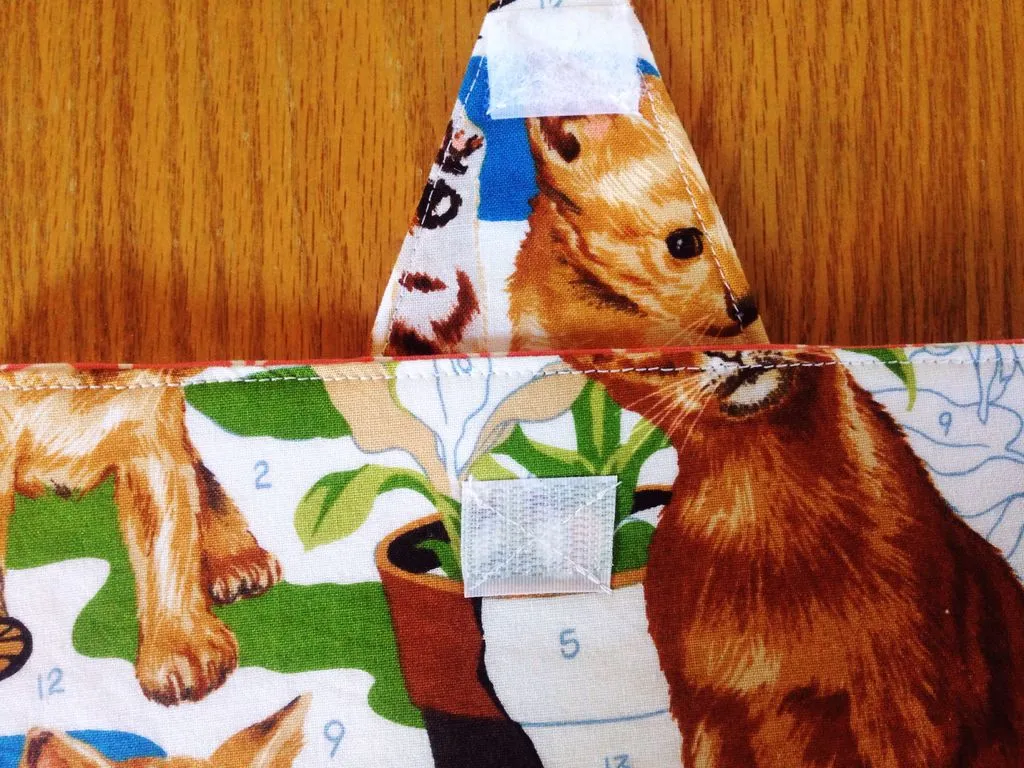
Pin a 2 inch piece of velcro (soft side) onto tab, as pictured. Sew from corner to corner in an “X” shape.
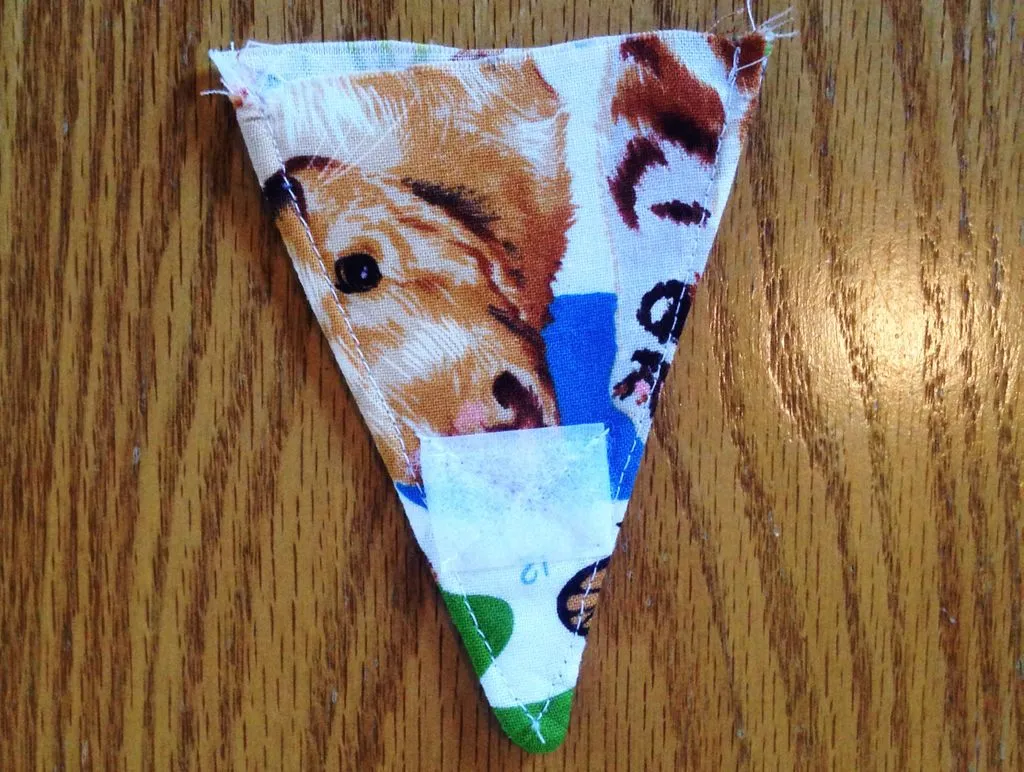
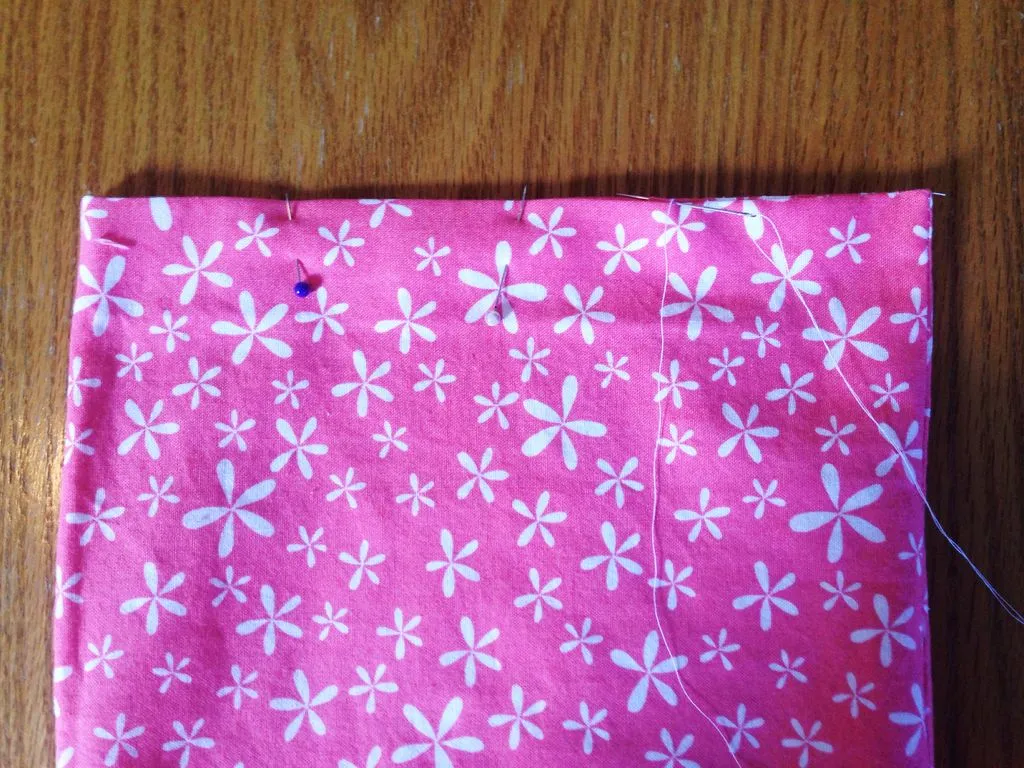
Pin lining to main fabric along top edge with right sides facing.
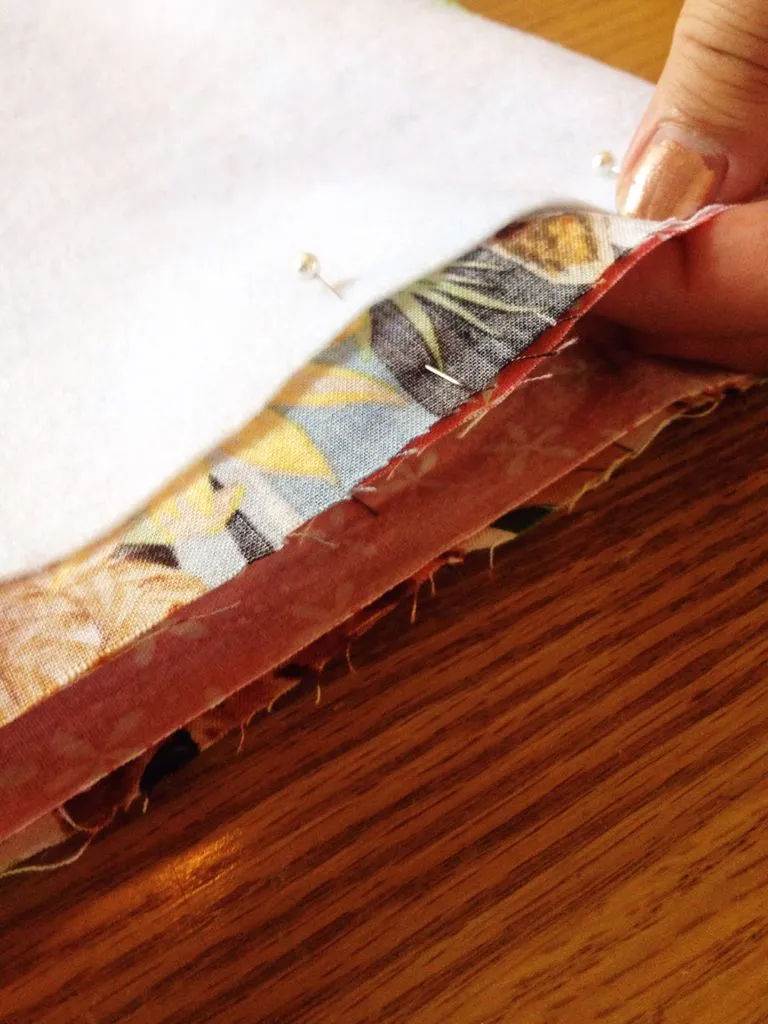
Unpin the side of the main fabric that does not have the velcro. Sandwich velcro tab inside as pictured. Pin, making sure the velcro is facing the lining side.
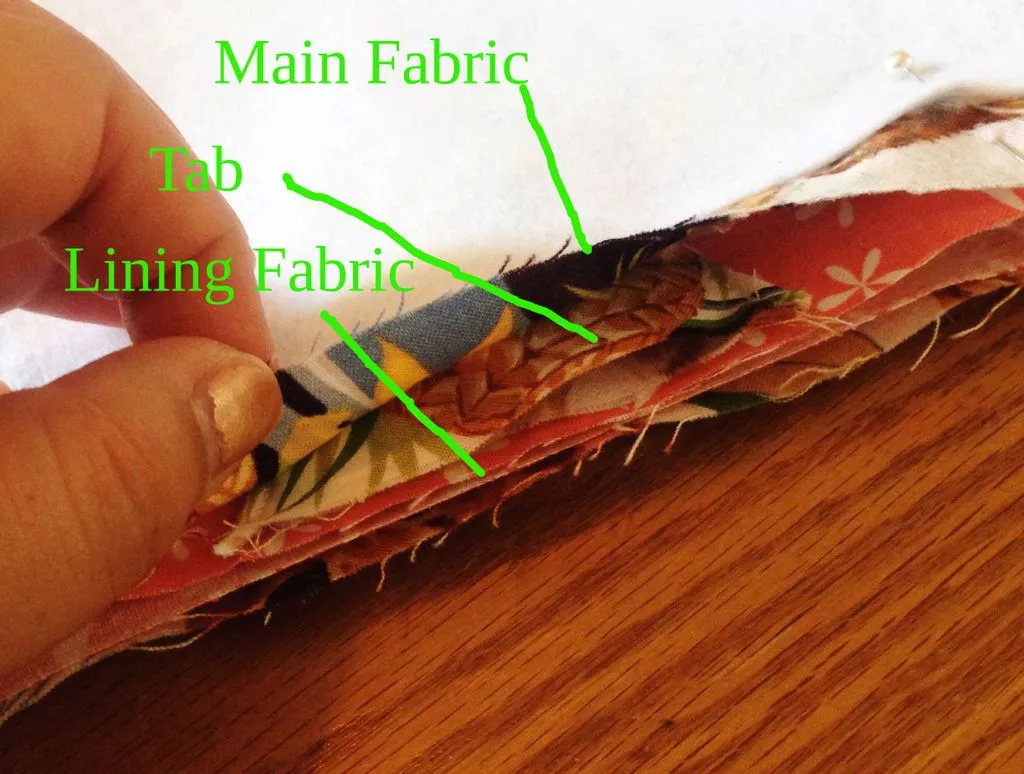
Sew together. Trim seam allowance to a scant ¼ inch. Turn lining to inside and press. Topstitch ⅛ inch from edge.
Pull lining and main fabric apart. Pin bottom edge of main fabric together with right sides facing and sew. Trim seam allowance to ¼ inch.
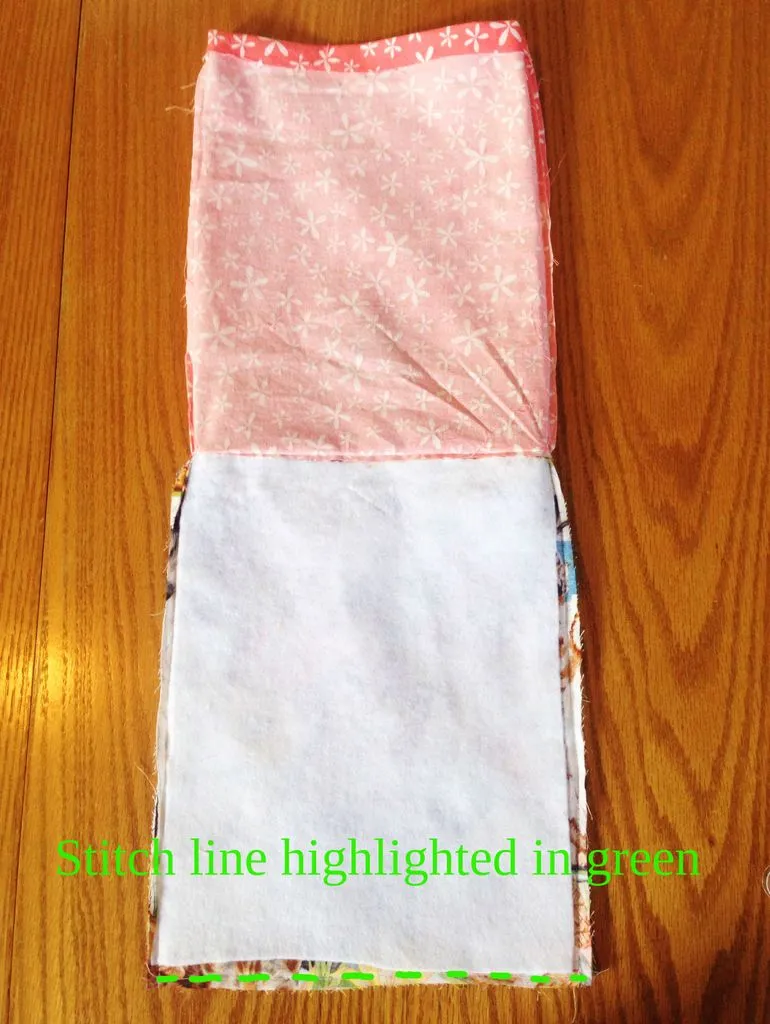
Turn right side out and press. Turn bottom edge of lining in and slip stitch closed.
Turn lining to inside of sleeve. Slide your book in, velcro up, and toss (gently!) into your bag!
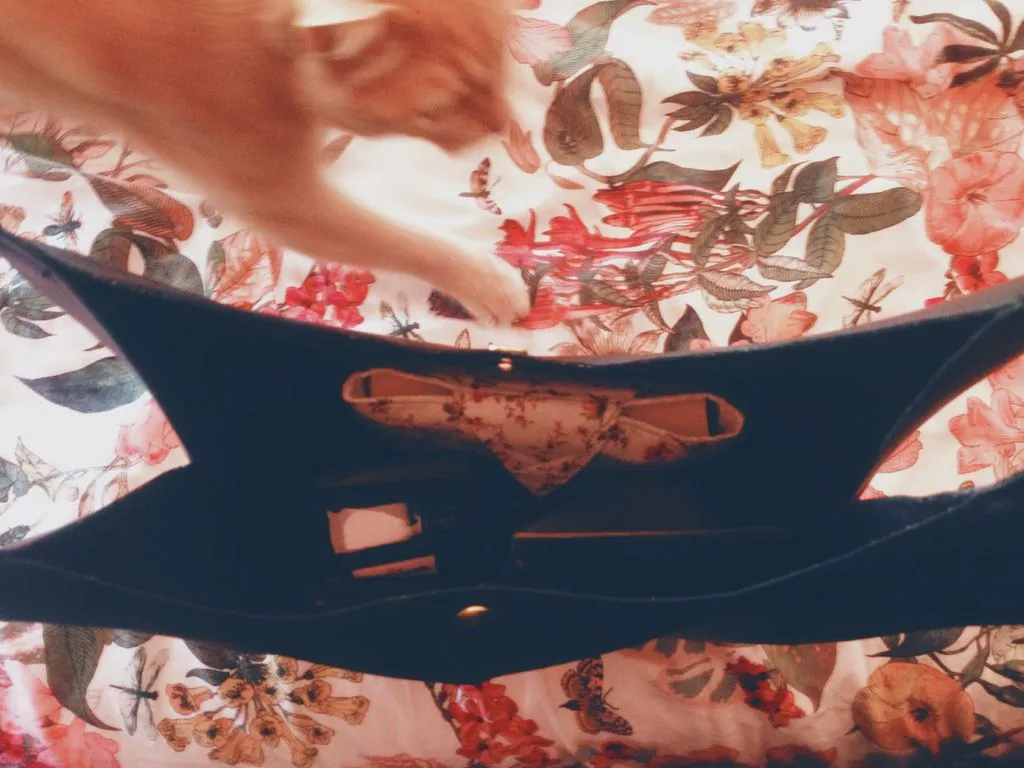
Here’s my DIY book sleeves in action (with cat)!
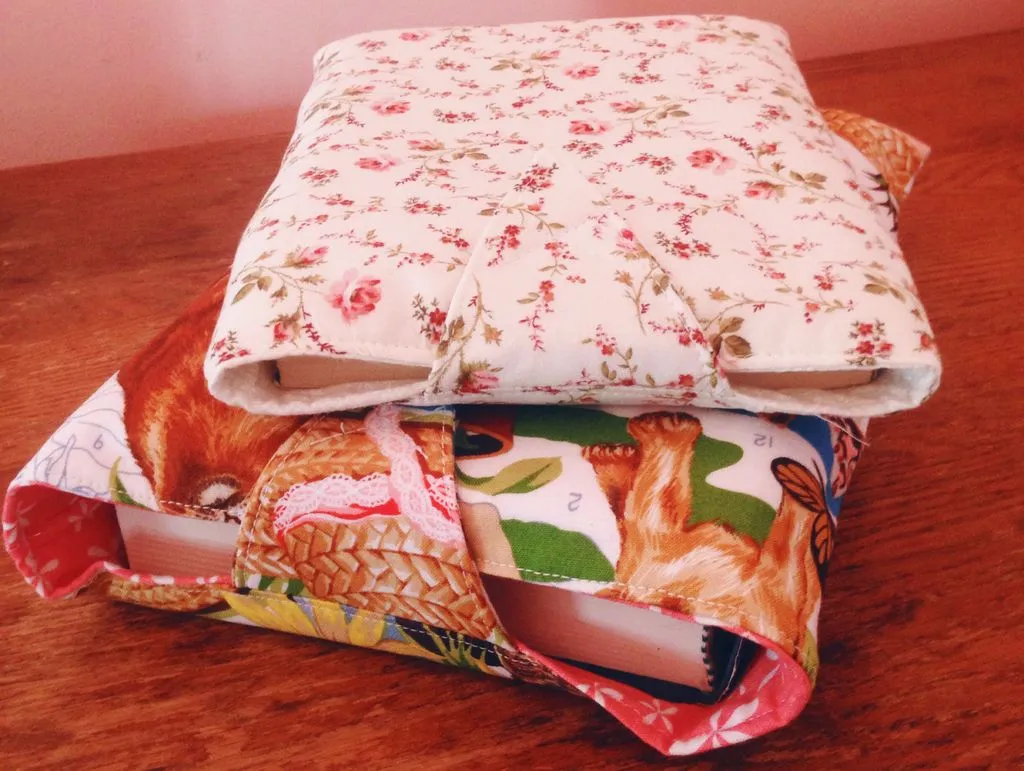
Looking for more bookish diy projects? Check out the crafts tag!


