


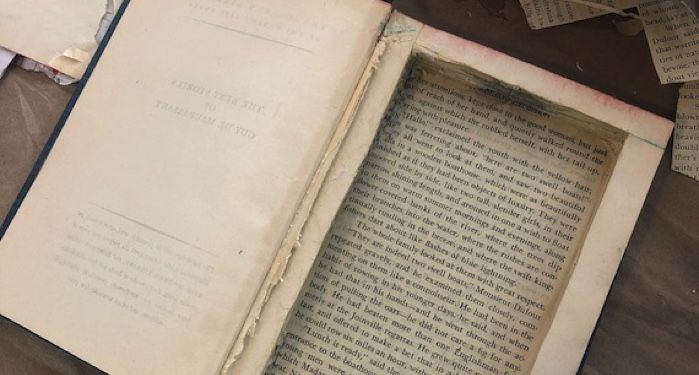
How To Hollow Out A Book
These days, everyone is sitting at home whenever possible. And if you’re a bookish person like I am, you have perhaps been sifting through your books, deciding which to keep and which you can release back into the world for someone else to find and love. While we may not be able to create the secret passage bookshelf of our dreams at the moment, there’s a more attainable secret project sitting in that pile of books waiting for the local donation store to open up. So grab a hardback from the pile, a few things from around the house, and let’s learn how to hollow out a book together!
How To Hollow Out A Book
There are many, many how-tos for this process available with a Google search. I have cobbled together several and added a step or two to assuage my own penchant for clean lines and finishes.
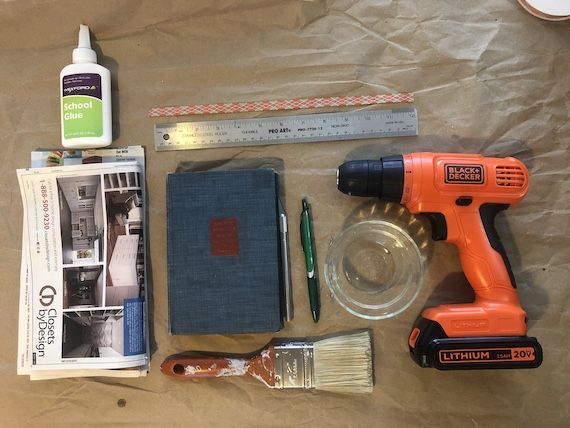
You Will Need
- A hardcover book
- Newspaper for covering the book and also for keeping the counter clean
- Waxed paper (not pictured)
- Tape—painter’s, Scotch, masking; anything but duct (not pictured)
- A ruler
- A pen or pencil
- A craft knife of some kind (I’m using an X-Acto)
- Glue
- A small bowl
- A paintbrush
- A drill and your smallest drill bit (optional)
- 12″ of ribbon, cut in half (optional)
Step 1: Prepare Your Book
Cover the covers of your book, plus a few pages from the front of the text, with newspaper. Tape a piece of waxed paper between the covers and the main set of pages—this will keep them from sticking to the newspaper when you begin gluing.
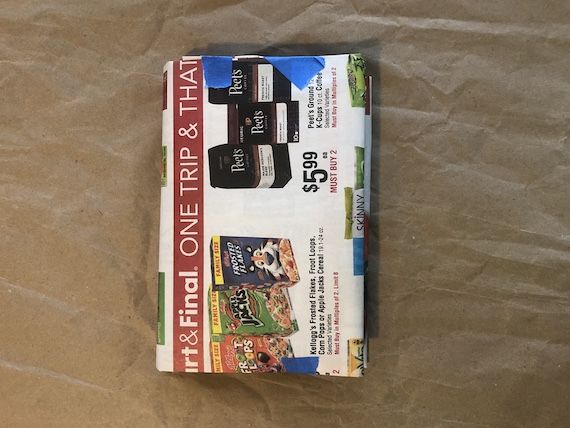
Remember book covers from high school? Just like that!
Save the frontispiece and 1–2 pages at the front of the book. Tuck them inside the temporary book cover.
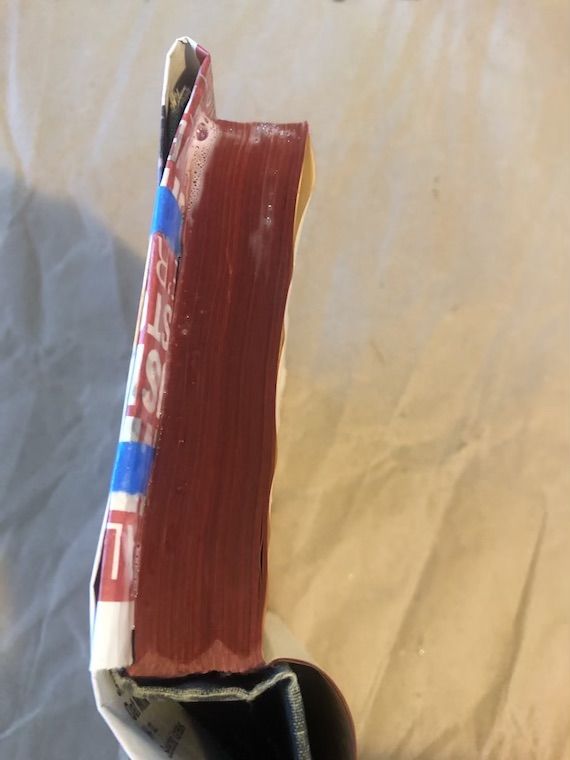
Step 2: Glue The Edges
Mix about a teaspoon of glue with a little bit of water. You want the glue to be smooth enough to paint onto the edges of the book, but not so wet that it will take forever to dry.
This is the step where I learned that a piece of waxed paper between the cover and the pages would be handy…
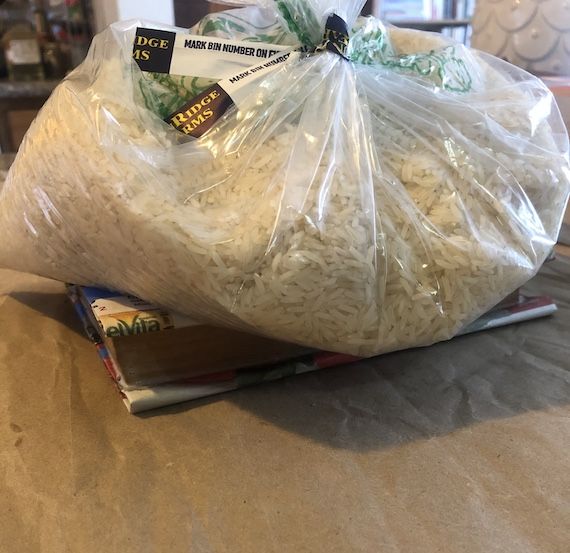
Fan the book pages a little so that they aren’t tightly packed, then paint the glue mixture onto the edges of the pages. Plop something heavy on top of the book, rinse out your paintbrush and cover the bowl for round 2, then read a book while you wait for the glue to dry.
When the edges of the book are dry, they will no longer be cool to the touch. Repeat step 2 twice more, for a total of three layers of glue. You may need to replace the waxed paper; once it gets soaked through, it tends to stick more.
Step 3: Hollow Out Your Book
Open the book and mark the edges of your hollow. They should be at least 1/2″ from the edge of the pages.
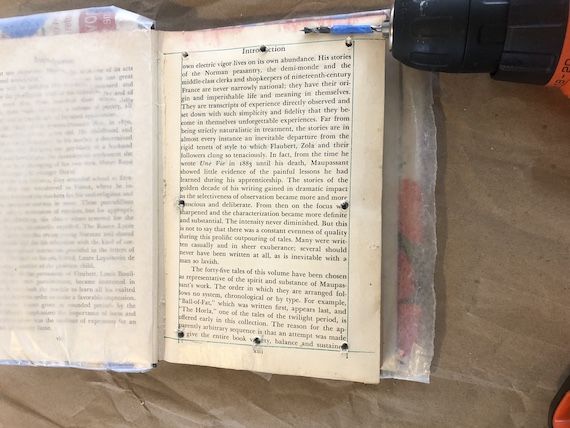
Pro Tip: Measure how deep you need to drill so that you don’t hit the book cover, then put a piece of painter’s tape around the drill bit at that depth!
If you have a drill, use it to make holes along the edge of your inner chamber. These holes will allow you to keep your cuts shorter, giving more control over the knife (always a plus) and helping the corners detach.
Step 4: Seal The Interior
Apply glue to the inside of the hollow, and if any of the pages have become separated during the hollowing out process, to the outside page edges as well. Weight and allow to dry.
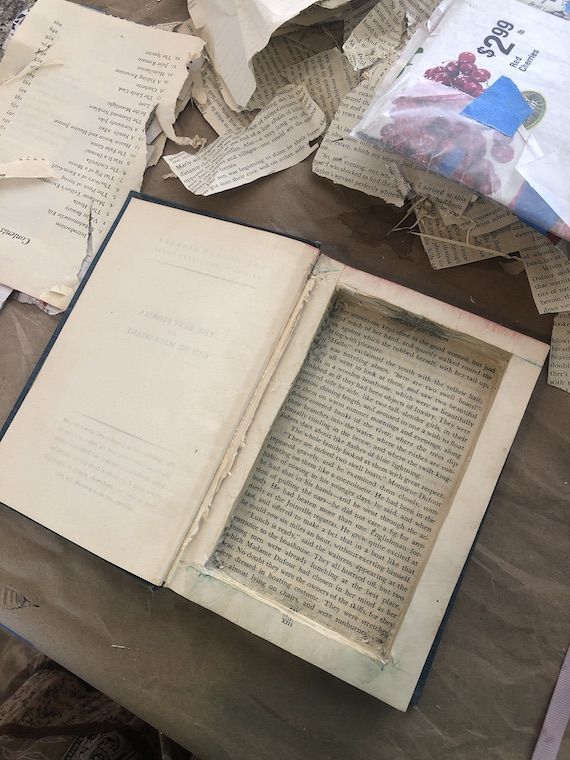
Repeat step 4 again, trimming any scraps and tidying up the corners as necessary. N.B. For the second round, the outside edges were all firmly glued together, so I left the book open in the sunshine to dry.
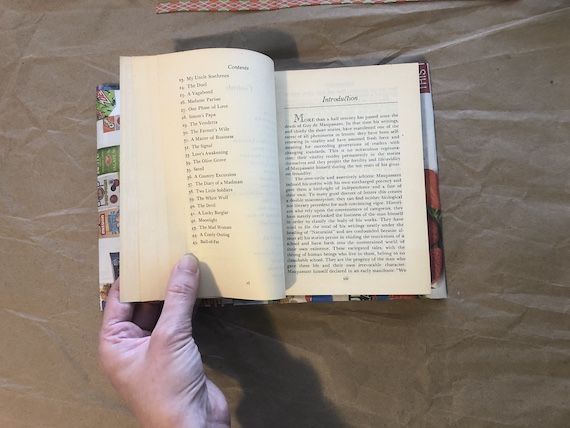
Step 5: Make It Pretty
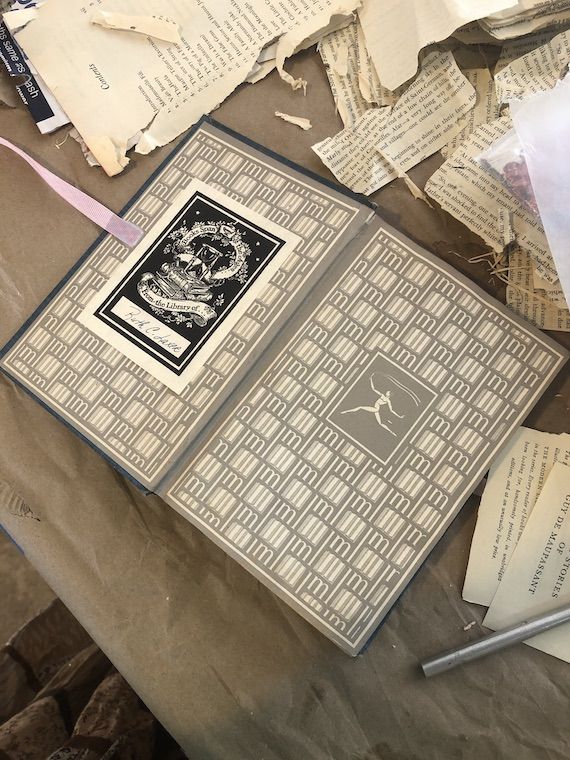
Remove the protective newspaper covering from the front of the book. Carefully glue the following, in order:
- Glue the loose pages at the front of the book over the hollow. This will temporarily cover the hole you have made—don’t worry. We’ll remove it soon.
- Glue the end of one piece of ribbon to the center of the front cover, then place a fresh piece of waxed paper between the front cover and the now-covered hollow.

- Generously coat the back cover with glue. Attach the second piece of ribbon to the center of the back cover, then close the book.
- Weight and allow to dry.
Step 6: Reveal The Secret Compartment
You’re SO CLOSE to done! Can you feel it?
Remove the waxed paper and set aside. Carefully cut around the edges to reveal the hollow in your book.
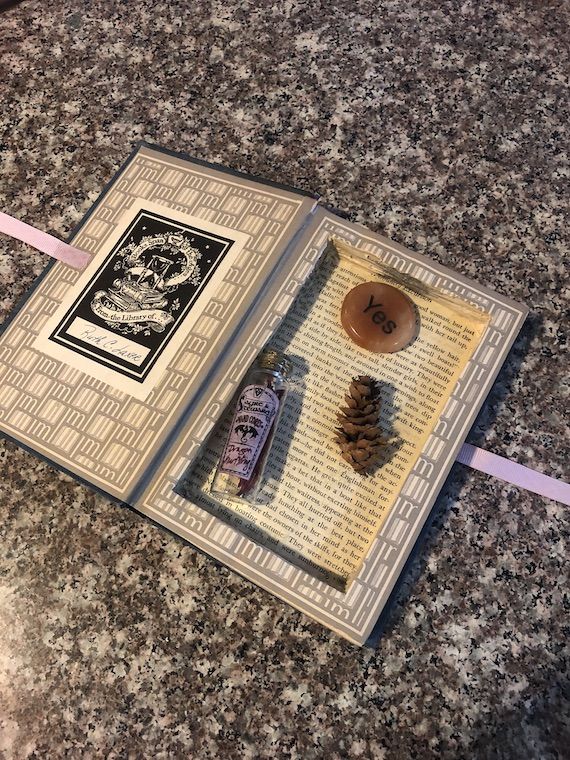
Fill it with treasures and tie it closed.
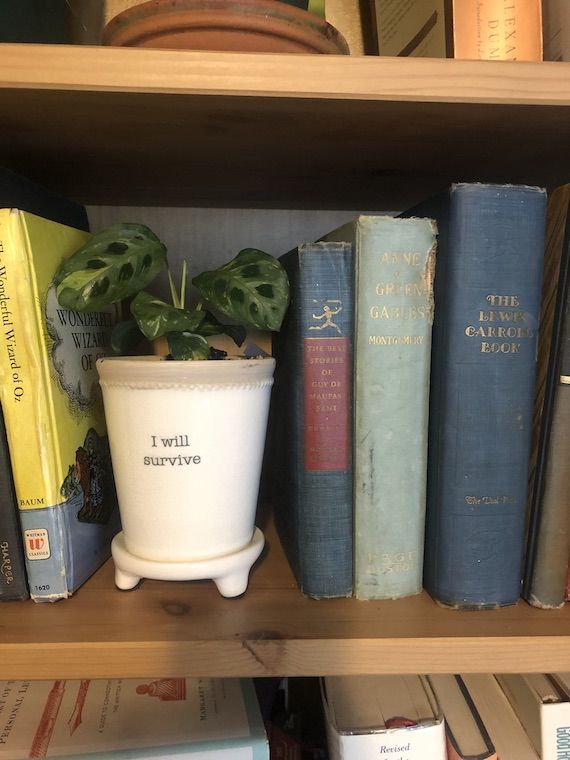
Hide it in plain sight on your bookshelf!
But what to do with all those scraps of pages? Make some paper flowers with them, of course!
Or if that’s not quite your jam, here are some other crafts to do with old books now that you’re eyeing your “to be donated” pile with fresh eyes. Enjoy!